Hello I've got two cards with a video over on YouTube channel today. This is the 5th video in my Christmas card series over on YouTube channel. You can check out my other cards in my Christmas card series here on my blog or over on my YouTube channel too. Today I did something a little bit different and used the snowman from the Lucerne egg nog carton to create two cards. I love using recycled pieces when I can and using different elements in my cards.
I love how you can get 4 cards out of 2 egg nog cartons because of the front and back. It's also fun they come in red and green for regular and light egg nog. Gives you options when you are using these cute snowman in a recycled project.
This was a very simple card to make. After you consume all your egg nog wash and let the cartoons dry and then you can cut the super cute snow man out to use him on the card. I used my paper trimmer to trim them down even more after cutting them out with scissors.
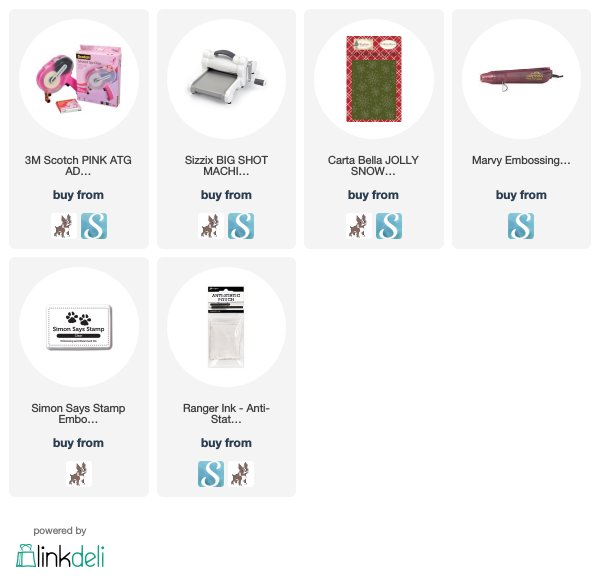
I cut down card bases of Red and Green card stock from Micheal's Recollection's Card stock. I also used my Big shot machine to emboss some snowflakes on white paper. I used an older snowflake embossing folder. I have linked to a newer one still available down below.
At this point I was ready to adhere everything together and to do that I used the scotch Advanced Tape glider to adhere all the layers together.
Lastly I added my sentiments. For the green snow man card I kept the words Holiday egg nog on the image and added the word cheer on the inside. First I used the anti static pouch and then used Simon Says Stamp clear embossing ink. For my embossing powder I used some peppermint scents powder I picked up at Micheal's awhile back. Yes the embossing powder smells like peppermint a little bit. I used the marvey heat tool to melt the embossing powder.
For the red snowman I used the stamp that said choose joy and used the same supplies from above to do the embossing technique, this time stamping and embossing on vellum. To adhere the choose joy sentiment to the card I used Elmer's Dual tip glue just on the letters so the adhesive wouldn't been seen on the vellum.
These egg nog cartons are from Canada so you might not have the same ones in your country but I challenge you to look around your house and what you are recycling and see if there is something cute you could use on your Christmas card projects this year.


Thank you so much for coming to my blog today. I hope these cards inspired you to be creative with the things around you and think outside the box (or in this case the carton).
Affiliate Link Disclosure: I participate in various affiliate programs. That means I receive a small commission, at no additional cost to you, when my readers purchase products through links I provide here on my blog. By participating in affiliate programs I am able to generate income by sharing links to the products I love. I only share product info for things I love and use in my projects. If I don't love it I won't endorse it here. I'm a proud affiliate of Scrapbook.com, and Simon says stamp.

I love how you can get 4 cards out of 2 egg nog cartons because of the front and back. It's also fun they come in red and green for regular and light egg nog. Gives you options when you are using these cute snowman in a recycled project.
This was a very simple card to make. After you consume all your egg nog wash and let the cartoons dry and then you can cut the super cute snow man out to use him on the card. I used my paper trimmer to trim them down even more after cutting them out with scissors.
I cut down card bases of Red and Green card stock from Micheal's Recollection's Card stock. I also used my Big shot machine to emboss some snowflakes on white paper. I used an older snowflake embossing folder. I have linked to a newer one still available down below.
At this point I was ready to adhere everything together and to do that I used the scotch Advanced Tape glider to adhere all the layers together.
Lastly I added my sentiments. For the green snow man card I kept the words Holiday egg nog on the image and added the word cheer on the inside. First I used the anti static pouch and then used Simon Says Stamp clear embossing ink. For my embossing powder I used some peppermint scents powder I picked up at Micheal's awhile back. Yes the embossing powder smells like peppermint a little bit. I used the marvey heat tool to melt the embossing powder.
For the red snowman I used the stamp that said choose joy and used the same supplies from above to do the embossing technique, this time stamping and embossing on vellum. To adhere the choose joy sentiment to the card I used Elmer's Dual tip glue just on the letters so the adhesive wouldn't been seen on the vellum.
These egg nog cartons are from Canada so you might not have the same ones in your country but I challenge you to look around your house and what you are recycling and see if there is something cute you could use on your Christmas card projects this year.


Inside of green card
Affiliate Link Disclosure: I participate in various affiliate programs. That means I receive a small commission, at no additional cost to you, when my readers purchase products through links I provide here on my blog. By participating in affiliate programs I am able to generate income by sharing links to the products I love. I only share product info for things I love and use in my projects. If I don't love it I won't endorse it here. I'm a proud affiliate of Scrapbook.com, and Simon says stamp.

Comments