
Hello! Thank you for joining us for the August Get Kids Crafty! blog
hop! Our theme this month is back to school!
Summer has been awesome and we hope you’ve had lots of time to create some amazing projects with your kids!
How about a little giveaway to celebrate the unofficial end of summer?! Lawn Fawn has generously donated a prize package for us to give to one of our lovely followers! How do you win it? Just leave a comment on all the blogs in the hop! The more blogs you comment on the better chance you have of winning! One lucky person will be chosen from all of the blog comments to win the Lawn Fawn prize which includes the Little Fireflies stamp set, Year Eight stamp set, Slow Down and Enjoy stamp set, and the Perfectly Plaid Chill 6x6 paper pack! This giveaway closes in one week on Saturday August 25 and a winner will be chosen soon after!

We also want to know how the theme of “back to school” inspires you? Creating awesome book covers? Making notes to put in lunch boxes? Gifting a handmade project to a teacher? Share your back to school projects with us in our Facebook group or on Instagram with the hashtag #getkidscrafty !
When I found out this months theme of back to school I instantly knew we should do a bus themed craft. Riley loves buses, school buses and any vehicle that moves. So I searched online for an easy school bus craft and we added a bit of sparkle too. Stay tuned for the finished product. We made a school bus picture frame out of Popsicle sticks.
Riley was so excited to make this because well I told him do you want to make a bus? He said YES, right away!! He had never used liquid school glue before but he was a professional and got the hang of it right away. He dabbed the glue where I told him and followed instructions super well. I am very proud of him.

I had showed him a picture before we started of the idea of what we wanted to accomplish but then guided him where to put the Popsicle sticks.


Putting it all together. He did such a good job!
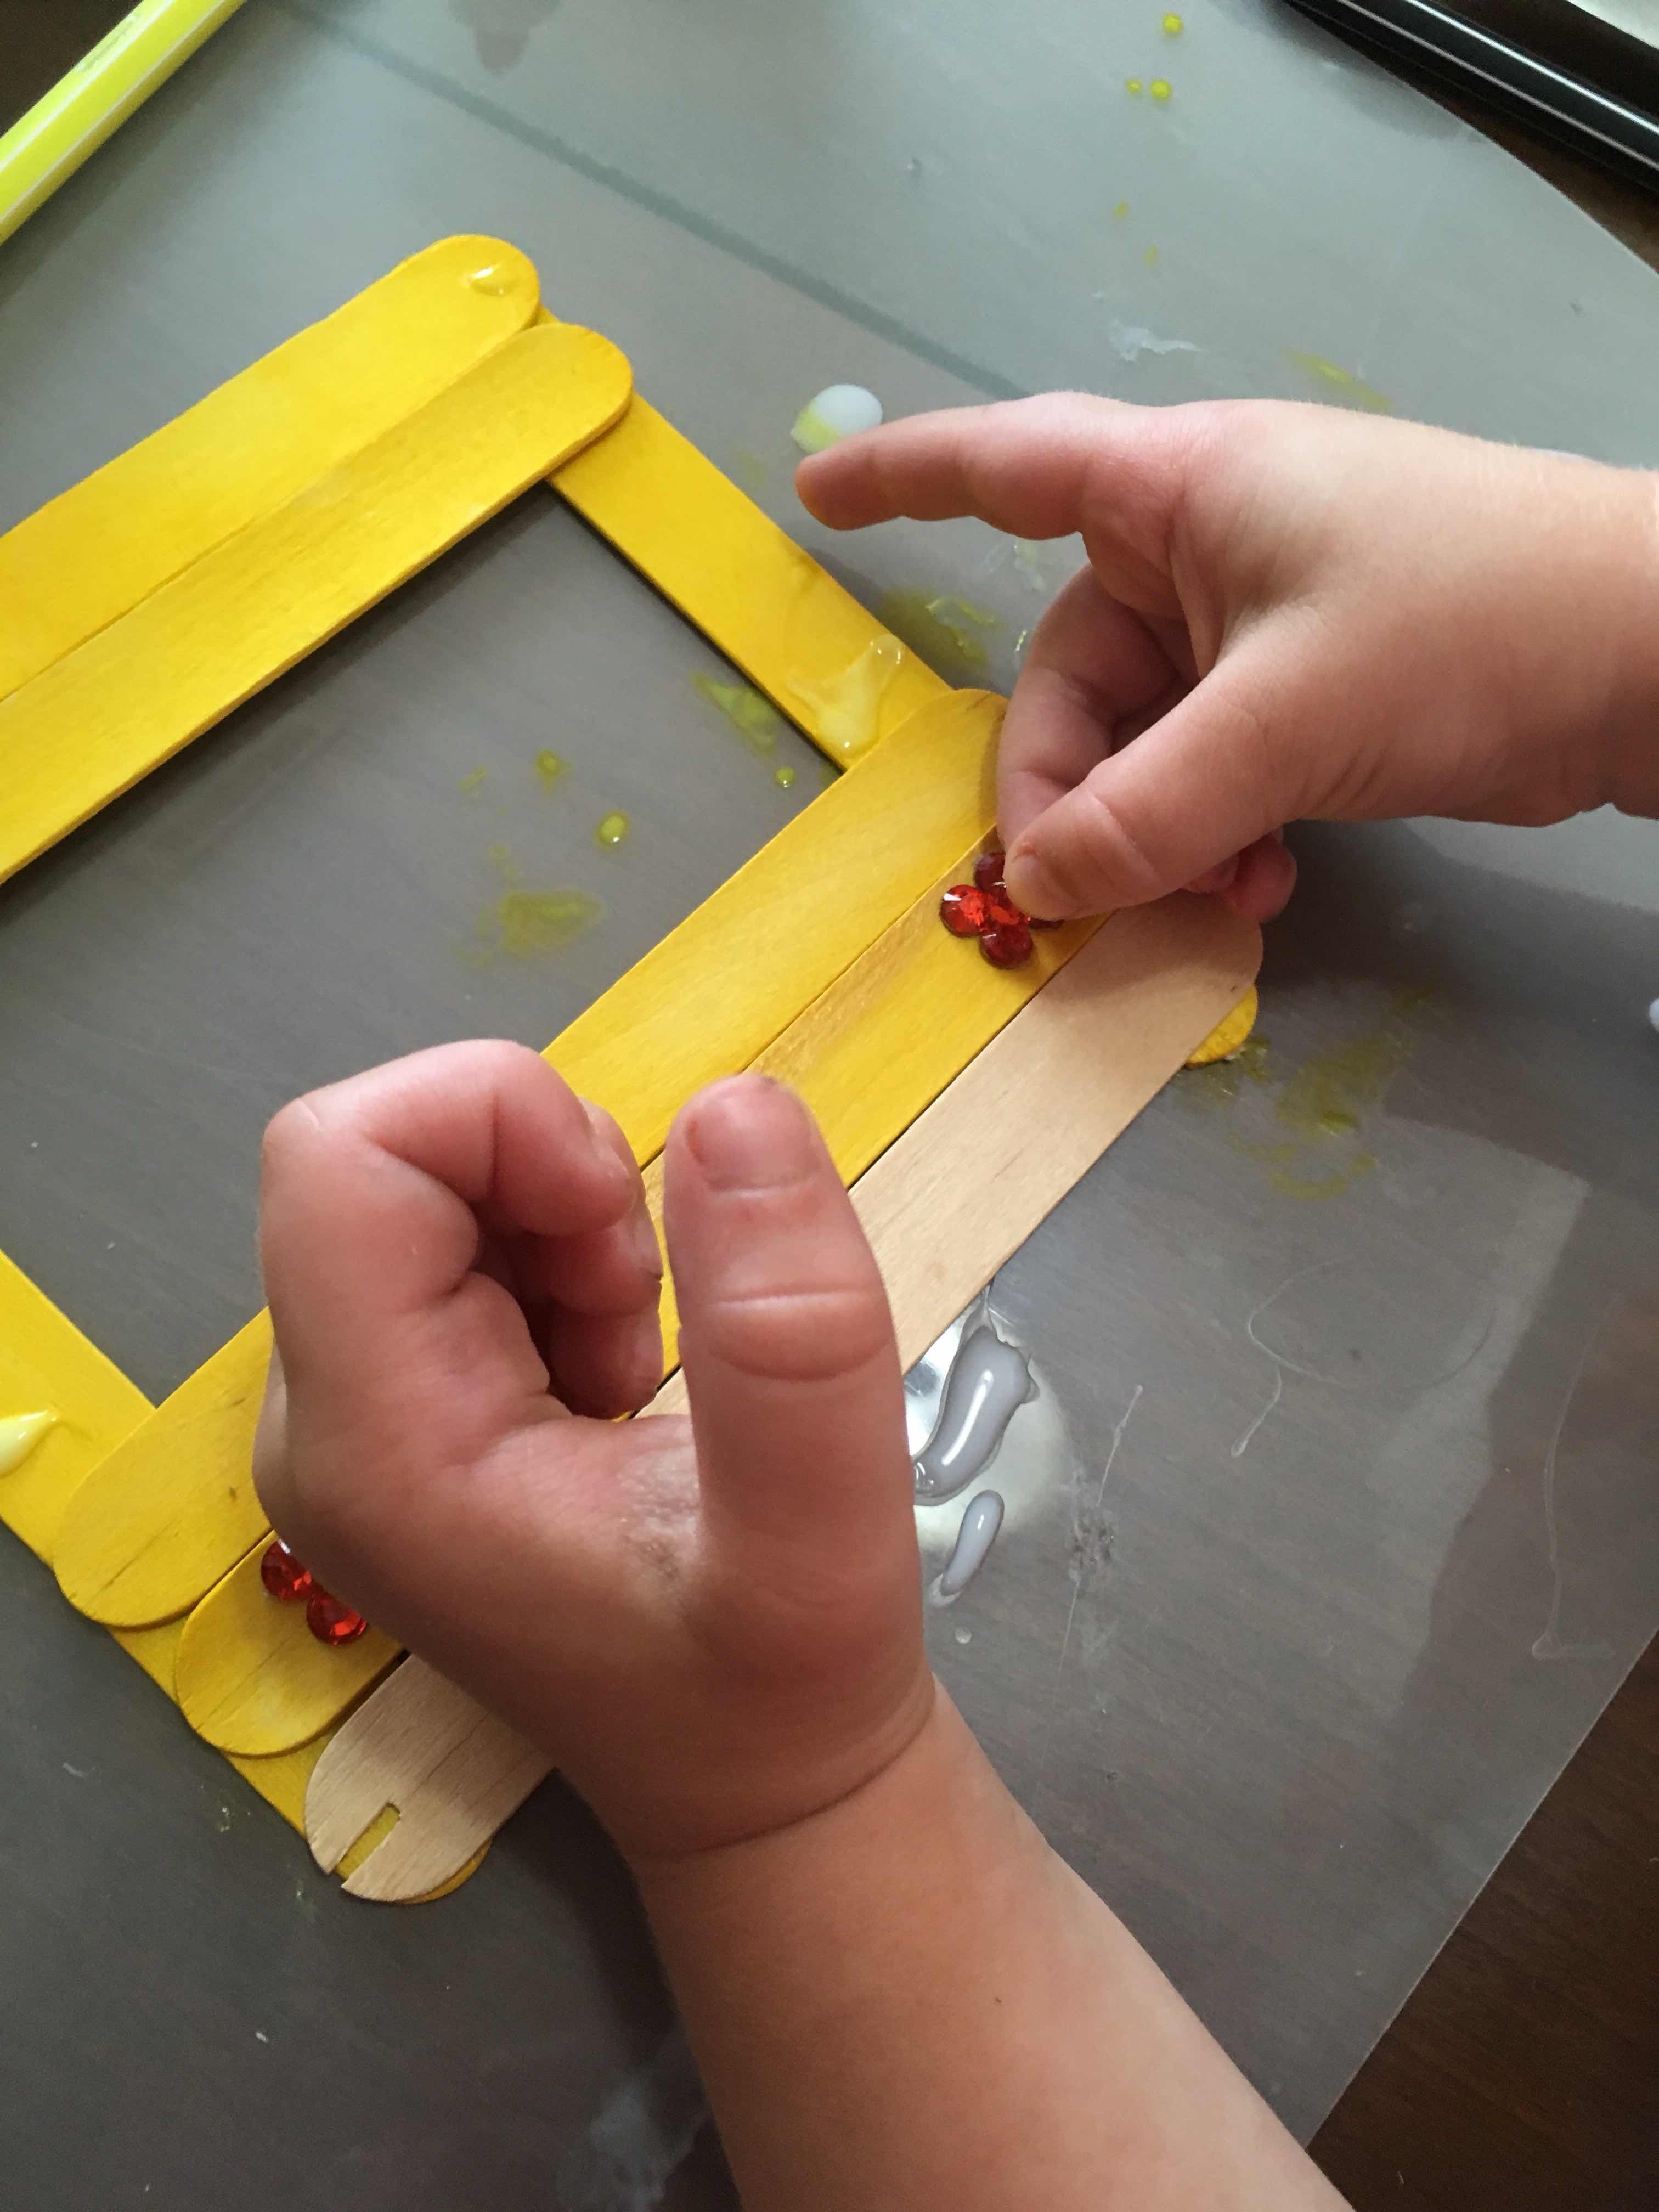
Then we added some red self adhesive jewels for the lights.
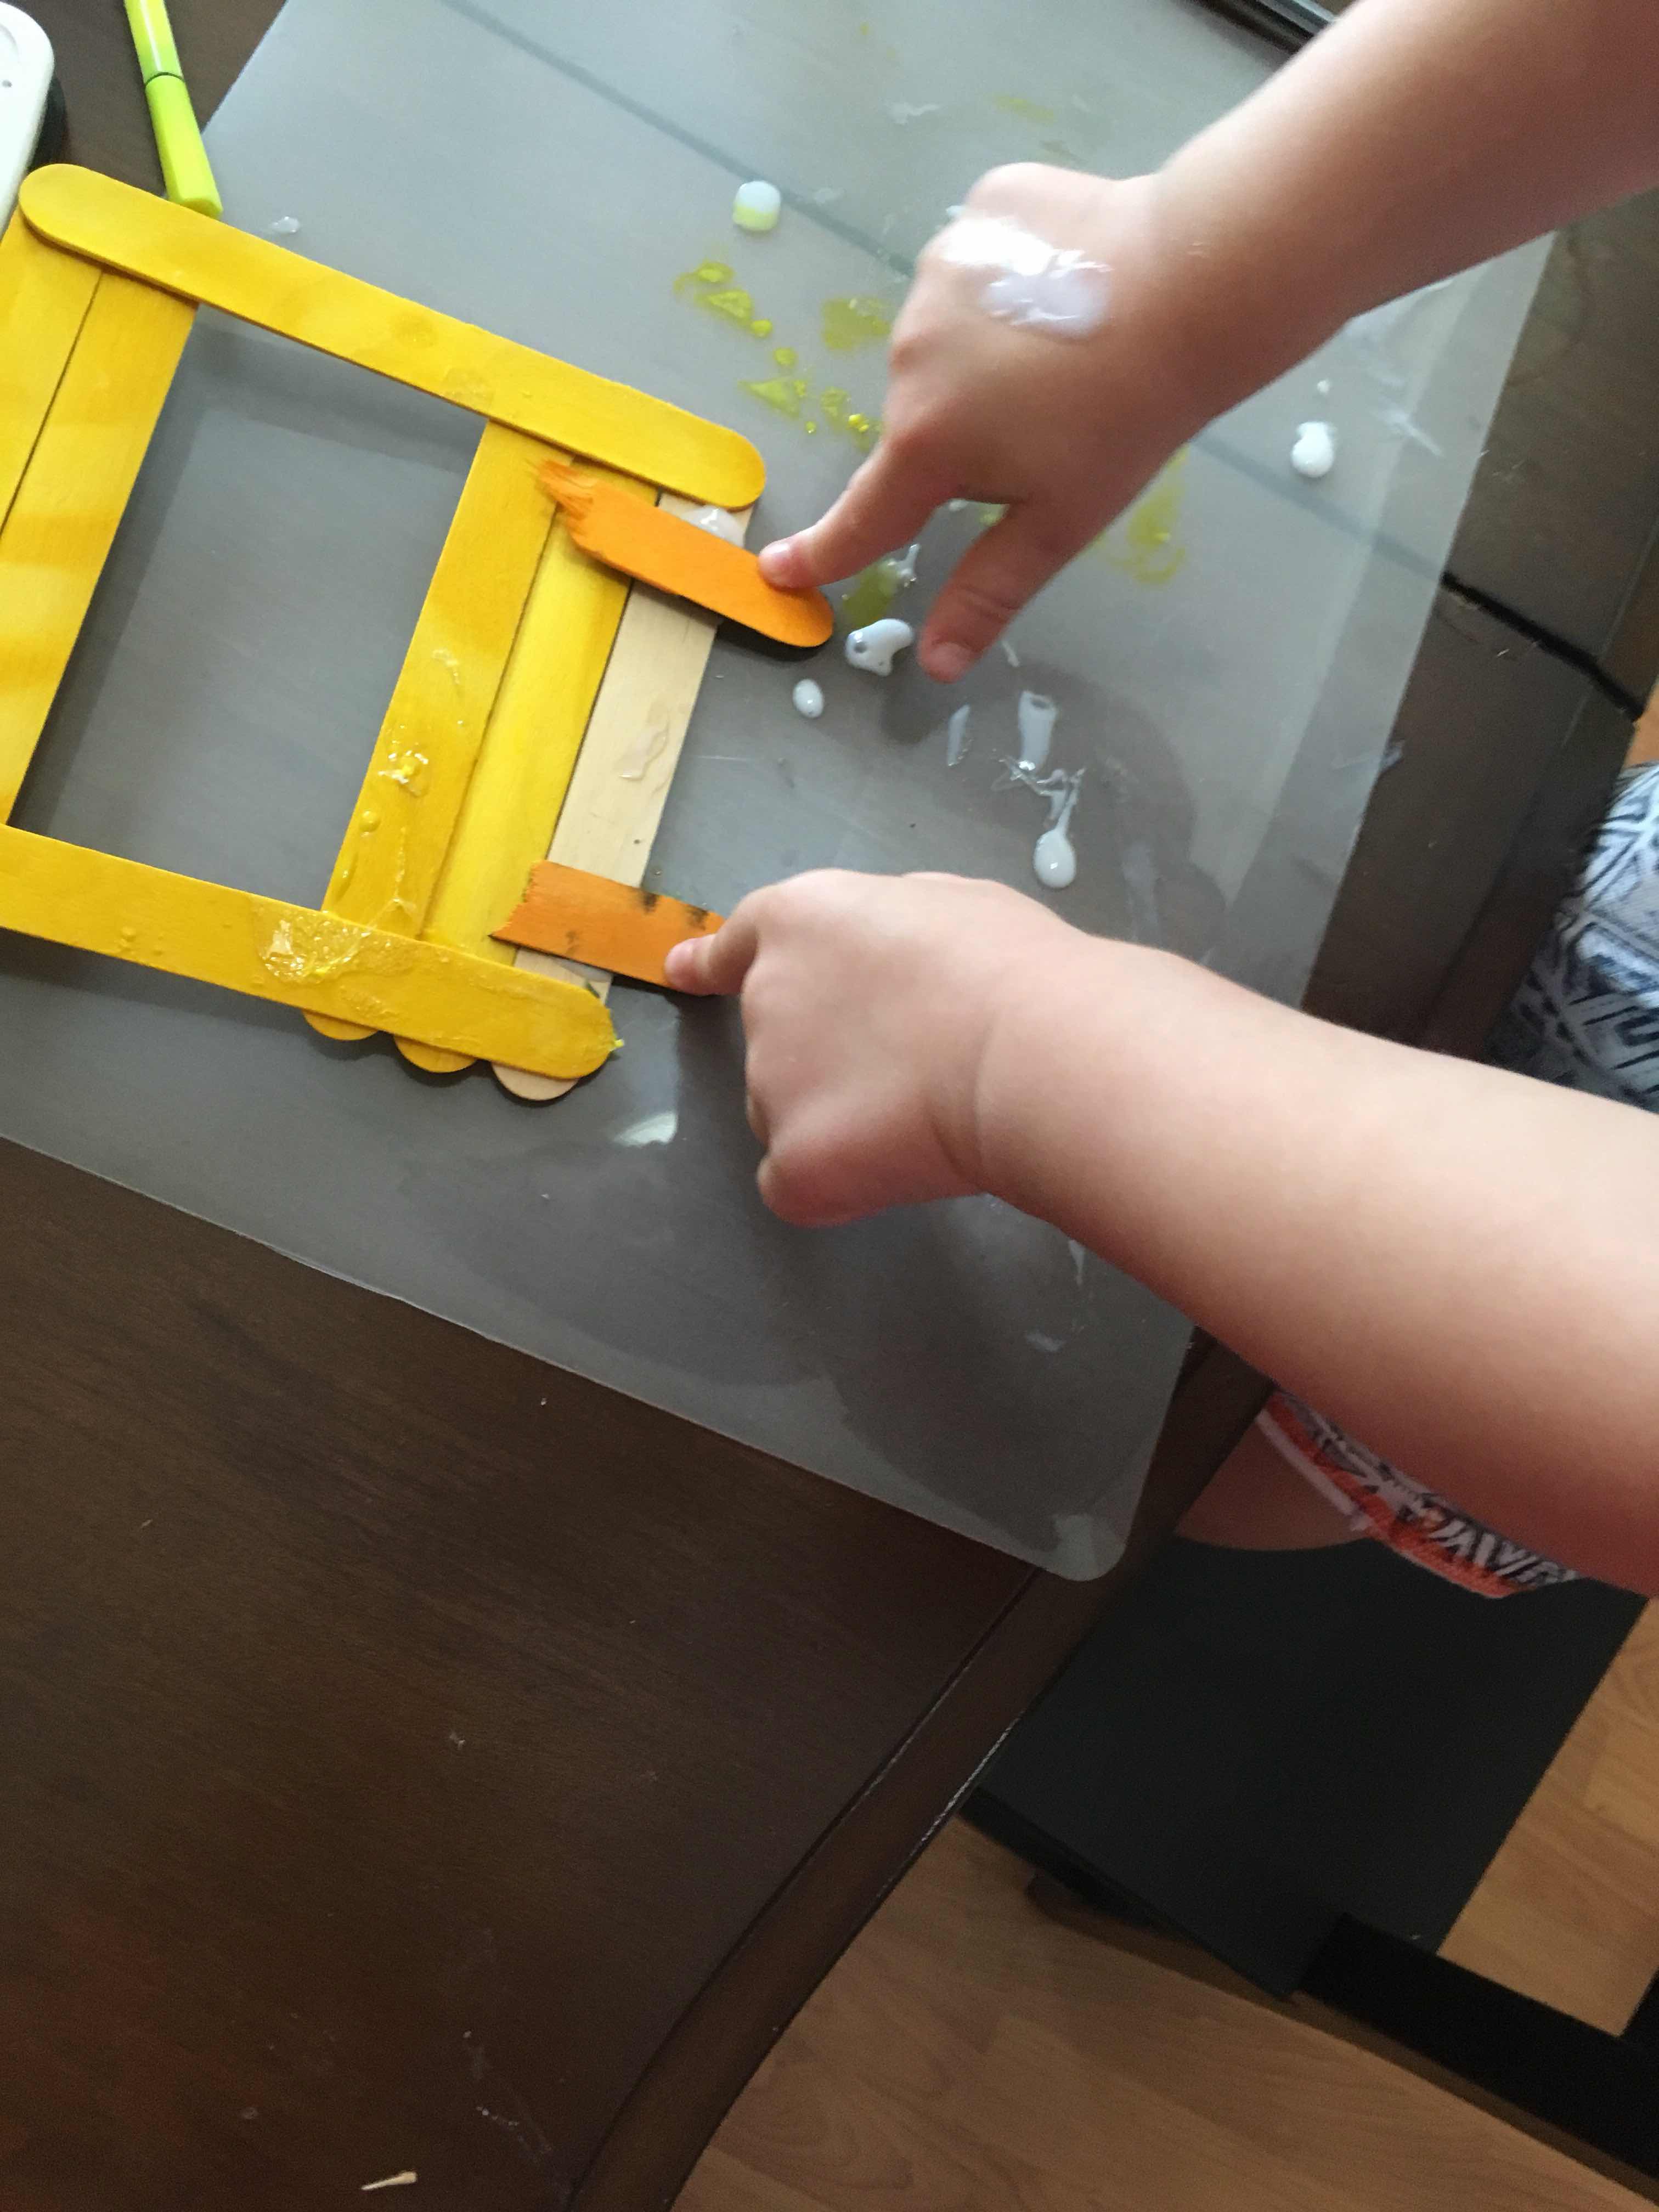
We added a smaller bit of a popsicle stick to the back for the wheels. I
had used Memento Tuxedo Black ink on the popsicle stick to make it
black for the wheels.
Then as a final touch we added some silver self adhesive jewels on the top for more lights. We also added yellow self adhesive jewels around the bus just to make everything pop a bit more.

Then I added the first day of preschool banner at the top, printed on a popsicle stick that I cut in half. I also printed his name on a bit of popsicle stick to act as the license plate.
Here is the final project! I seriously love how this turned out. Riley starts preschool in the fall so I am going to take a picture on his 1st day and put it in here. How cute is that?
You could totally personalize this for your child's grade or just say back to school. Change up the name to your kids or put the year.
You could totally personalize this for your child's grade or just say back to school. Change up the name to your kids or put the year.

(and made by Riley)
Comments
This is a great project. Love Riley’s bus. Cute to put a 1st day of school photo on one side then add the last day of school on the back. Do this for each school year & make it into a Through the School Years photo ornament tree.
-Mom's the word
great keepsake! Love
the idea.
Carla from Utah