Hey There! It's Fall y'all, so I've got one more Fall card to share with you today here on the blog with a video over on my YouTube channel too.
It's funny Fall doesn't technically end till Dec 22nd, but yet the weather starts to change and get colder. We start gearing up for Christmas and feel like it's winter even before it's actually winter. Fall has many different seasons itself and can often feel like winter. This is the last card in my Fall card series over on my YouTube channel. I would love for you to check out this card there and you can see the other 7 cards there too.
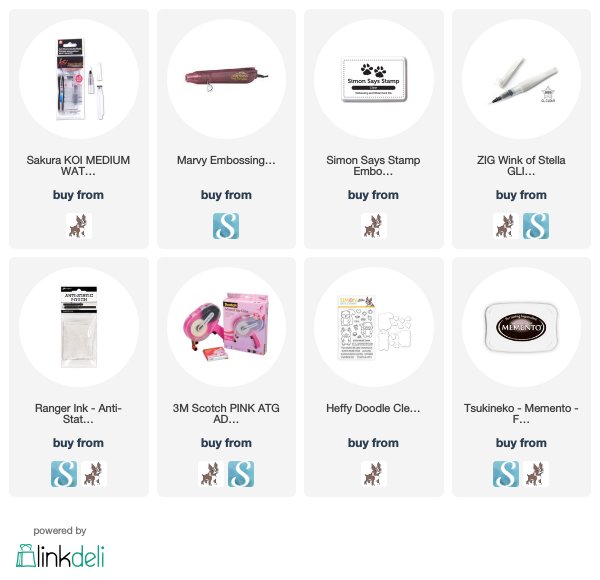
Alright onto the card, for these super cute critters I used the Heffy Doodle/Simon Says Stamp Stamptember 2018 Exclusive ‘More Than S’mores". (This set is no longer available as it was a Stamptember Exclusive, sorry) I inked them up with Memento Tuxedo Black ink on some watercolor paper. Then I used Crayola Watercolor pencils and a Sakura Watercolor brush to color them in.
To create the background I did a messy watercolor again with just the orange and brown pencils from the crayola watercolor pencils set. Then I used the Sakura water color brush again to do a quick water colored background. When my water colored background was dry I added some memento tuxedo black ink to the edges. I cut down my card base using Kraft card stock from Micheal's Recollections card stock.
For the sentiment I couldn't decide which sentiment to use so I used two, " I love you even more than pumpkin Spice lattes & pumpkin pie. First I used the anti static embossing tool on the cardstock. Then I stamped the sentiment using Simon Says Stamp clear embossing ink. Then I used Micheal's Recollections pearl embossing powder "Raspberry" and melted the embossing powder with the Marvey heat tool.
At this point I was ready to adhere everything together so of course I used the Scotch Advanced Tape glider. To adhere the pumpkin spice lattes and pumpkin pie into the critter's hands I used Elmer's Dual tip glue pen.
As a final touch and to finish off the card I used my Wink of Stella clear brush marker to add some sparkle to the critters and sentiment.

Thank you for coming by today. I appreciate all the support on my crafty journey and love sharing projects with you. Hopefully they inspire you to get crafty yourself. If you haven't already checked out my YouTube channel I would love if you did. This is the last card in my Fall card series for 2018. Though stay tuned because I have a Christmas card series coming to my YouTube Channel very soon. So if you want to be informed on that you can subscribe and click the bell to get notifications when I upload.
Affiliate Link Disclosure: I participate in various affiliate programs. That means I receive a small commission, at no additional cost to you, when my readers purchase products through links I provide here on my blog. By participating in affiliate programs I am able to generate income by sharing links to the products I love. I only share product info for things I love and use in my projects. If I don't love it I won't endorse it here. I'm a proud affiliate of Scrapbook.com, and Simon says stamp.

It's funny Fall doesn't technically end till Dec 22nd, but yet the weather starts to change and get colder. We start gearing up for Christmas and feel like it's winter even before it's actually winter. Fall has many different seasons itself and can often feel like winter. This is the last card in my Fall card series over on my YouTube channel. I would love for you to check out this card there and you can see the other 7 cards there too.
Alright onto the card, for these super cute critters I used the Heffy Doodle/Simon Says Stamp Stamptember 2018 Exclusive ‘More Than S’mores". (This set is no longer available as it was a Stamptember Exclusive, sorry) I inked them up with Memento Tuxedo Black ink on some watercolor paper. Then I used Crayola Watercolor pencils and a Sakura Watercolor brush to color them in.
To create the background I did a messy watercolor again with just the orange and brown pencils from the crayola watercolor pencils set. Then I used the Sakura water color brush again to do a quick water colored background. When my water colored background was dry I added some memento tuxedo black ink to the edges. I cut down my card base using Kraft card stock from Micheal's Recollections card stock.
For the sentiment I couldn't decide which sentiment to use so I used two, " I love you even more than pumpkin Spice lattes & pumpkin pie. First I used the anti static embossing tool on the cardstock. Then I stamped the sentiment using Simon Says Stamp clear embossing ink. Then I used Micheal's Recollections pearl embossing powder "Raspberry" and melted the embossing powder with the Marvey heat tool.
At this point I was ready to adhere everything together so of course I used the Scotch Advanced Tape glider. To adhere the pumpkin spice lattes and pumpkin pie into the critter's hands I used Elmer's Dual tip glue pen.
As a final touch and to finish off the card I used my Wink of Stella clear brush marker to add some sparkle to the critters and sentiment.

Thank you for coming by today. I appreciate all the support on my crafty journey and love sharing projects with you. Hopefully they inspire you to get crafty yourself. If you haven't already checked out my YouTube channel I would love if you did. This is the last card in my Fall card series for 2018. Though stay tuned because I have a Christmas card series coming to my YouTube Channel very soon. So if you want to be informed on that you can subscribe and click the bell to get notifications when I upload.
Affiliate Link Disclosure: I participate in various affiliate programs. That means I receive a small commission, at no additional cost to you, when my readers purchase products through links I provide here on my blog. By participating in affiliate programs I am able to generate income by sharing links to the products I love. I only share product info for things I love and use in my projects. If I don't love it I won't endorse it here. I'm a proud affiliate of Scrapbook.com, and Simon says stamp.

Comments