Hello there, I’m so excited to share that I’m a guest designer for Ephemoire Digital Design . They are a shop on Etsy that sells vintage paper, collage sheets, clip art and Journal kits. The best thing is they are all printable from your home computer. I’ve worked with digital stamps before and always wanted to work with digital paper so I was excited to get this opportunity.
The links to all things Ephemoire Digital Designs:
Today I will be sharing three projects with you but I didn’t want to stop there. Stay tuned I’m sure there will be more, I was so inspired.
For my three cards I used Digital collage sheets microscope slides (Vintage printable collage sheet).
For my three cards I used Digital collage sheets microscope slides (Vintage printable collage sheet).
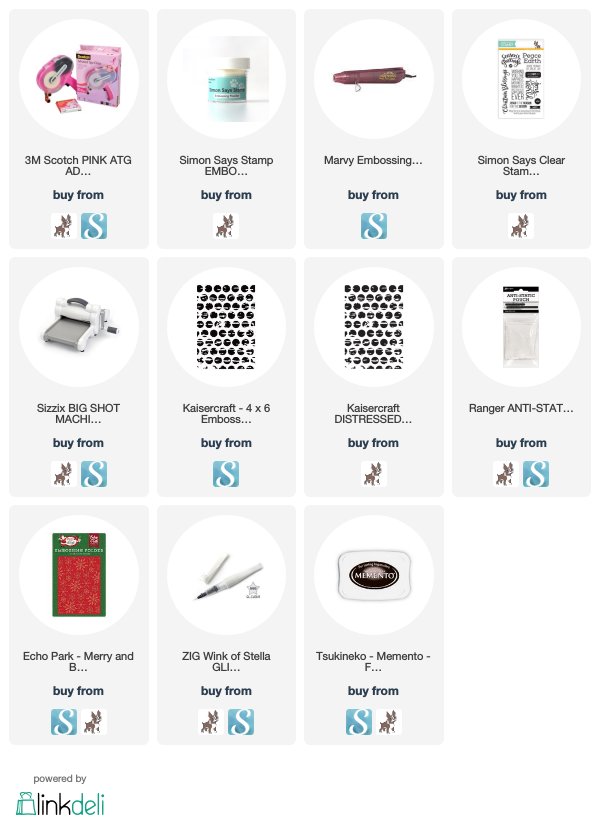
To design the first card I used a snowflake embossing folder from my collection and ran it through my Big Shot Machine. (This snowflake embossing folder is no longer available but I will link to a similar one) I found some leftover vellum and took my anti static embossing buddy and used it over the vellum before stamping the sentiment "Season's Greeting" from Simon Says Stamp's Peace on Earth stamp set. Then I heat embossed it with some Martha Stewart embossing powder I had in my assortment of embossing powders. Then I used the Marvey heat tool to melt that embossing powder. I love how the blue embossing powder looks on the vellum and adds a pop of color and emphasizes the colors in the photo.
At this point I was ready to adhere everything together. I used the Scotch Advanced Tape Glider to first adhere the vellum to the embossed background to the ends of the vellum and then wrapped it behind the card stock. After that I adhered the embossed panel to some red card stock and cut it down so that there was a red frame around that panel. Then it was time to adhere all of this to our card base which was some blue sapphire paper that I have in my card stock collection. As a final touch and to finish off the card I used the Clear Wink of Stella Brush marker to add some sparkle to the snowflakes on the embossed background.

For card number two I used my Big Shot Machine once again and used the embossing folder spots and dots to add a fun and festive feel to this card. (This embossing folder is no longer available but I have linked to something similar) Then I chose two of the pictures from the microscope slides this time. Before I could adhere everything together I got out another piece of Vellum. I used the anti static embossing buddy on the vellum so the embossing powder would only go on the ink and no where else. I stamped this long sentiment from once again the Simon Says Stamp Peace on Earth stamp set. I stamped it in Memento Tuxedo Black ink and put Simon Says Stamp clear embossing powder on. Then I got out the Marvey Heat tool to melt that embossing powder on the vellum. At this point I was ready to adhere everything together. This was a fast and simple card, not a lot of pieces to adhere together. As a final touch I took the Clear Wink of Stella brush marker again to add some sparkle to the spots and dots on the embossed background.

Then for card number three I had a bit of fun with I created a window using My Favorite Things Fishtail Flags STAX die-namics. (Which is discontinued) I feel like there was an easier way to do this with an actual window die but I didn't have that so I got creative.
I cut the pieces for the white on the window partly with the big shot machine and the die from MFT which I mentioned above and partially by hand. On the inside of the card I adhered some transparency sheet. Then finished the window on the front of the card. I did something different here since I had made this window on a single piece of card stock and I needed to attach it to a card base. So to solve this problem I took another piece of card stock and cut it to the same size at the front panel and used some washi tape from my collection to attach the two pieces of card stock together so my card could open. After that was done I was able to use a picture once again from the Microscope sheets printable. I adhered that on top of some cream colored card stock and adhered it right behind the window. I love the look of this picture through the window. I also fixed the panel where I attached the window and covered it with card stock so it looked finished.
To finish off the card I added some stickers I had in my collection to add to the festiveness and finish off the window and add a sentiment in a different and simple way.


Thank you so much for coming by today. I had so much fun with these cards, leave me a comment below and definitely go check out Ephemoire Digital Designs. Have a great day!
Affiliate Link Disclosure: I participate in various affiliate programs. That means I receive a small commission, at no additional cost to you, when my readers purchase products through links I provide here on my blog. By participating in affiliate programs I am able to generate income by sharing links to the products I love. I only share product info for things I love and use in my projects. If I don't love it I won't endorse it here. I'm a proud affiliate of Scrapbook.com, and Simon says stamp.

Comments