
#teamtinychristmas featuring Joy Clair Designs/ Embossing Digital Stamps

Hello there, I’ve got a fun Christmas card over on my YouTube channel today.  This is a sponsored team tiny hop. You can find lots of Christmas inspiration over on YouTube from other great crafters if you search #teamtinychistmasinjuly. We have also been sponsored by Joy Clair Designs. 

I’m using Joy Clair Designs digital stamps “Dog gone Christmas”.  I printed out the images from my computer on my home printer.  

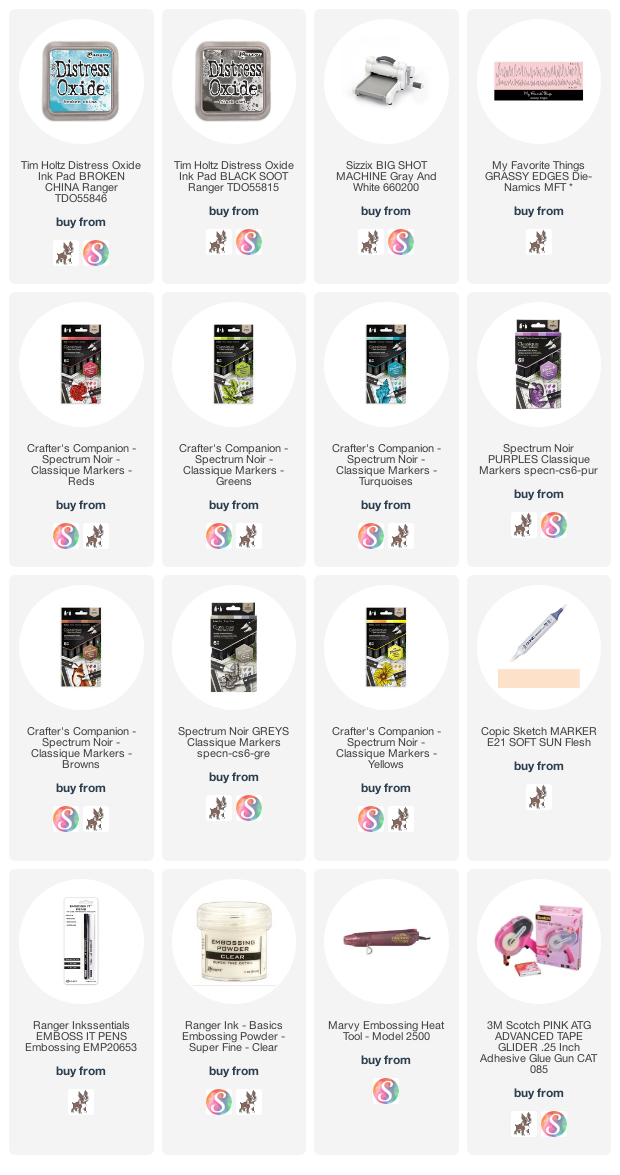
But first I worked on my background panel.  I used my cloud stencils I created with my silhouette cameo machine and stencil material.    To blend the clouds I used a make up blending brush and some broken china distress oxide inks.   

Then I used my big shot machine to cut out some grass from the “grassy edges” die from My Favourite Things.  

At this point I was ready to color the images. To colour the images I used spectrum noir markers and the copic Colot E21.  

When I was all done colouring I used the Ranger clear embossing it pen and used it over all the images and grabbed out some Ranger clear embossing powder to coated the images with the powder and then heat set that with my heat tool. This creates a fun shiny, glossy effect over the images. I also did this over the sentiment and that allows you to get the same look you would with physical stamps sets and similar results.  

Then I adhered then grass cut out to the card panel and added some black soot distress oxide ink to the edges.  Though I made a boo boo and didn’t allow it to dry long enough or at all. I didn’t think that through so I got black ink where I didn’t want it.  I looked at it for a good long while thinking what can I do. I didn’t want to start over. So I decided to take some white acrylic paint and water in down and add some splatter.  This was a good touch as it gave it the effect of snow, gave the card some texture and also hit most of the black ink that was out of place. I think it also gave it a more vintage photograph rustic look with the black ink hidden in the background. 

When this was all done I fussy cut out the images and started working on my scene.  I used the Advanced Tape Glider to adhere all the pieces down.  Once all the images and sentiments were in place I added a little bit more of the white paint splatter over the images too so it looked like snow was falling on them too.  


Thanks for stopping by today. I hope you were inspired by this fun Christmas card in July.  Definitely check out the other videos in this hop too for more crafty and Christmas inspiration.  

Affiliate Link Disclosure: I participate in various affiliate programs. That means I receive a small commission, at no additional cost to you, when you purchase products through links I provide here on YouTube and my blog. By participating in affiliate programs I am able to generate income by sharing links to the products I love. I only share product info for things I love and use in my projects. If I don't love it I won't endorse it here. I'm a proud affiliate of Scrapbook.com and Simon says stamp and the rabbit hole designs.


Comments

Popular posts from this blog

Get Kids Crafty August Blog Hop- Back to school

Hello! Thank you for joining us for the August Get Kids Crafty! blog hop! Our theme this month is back to school! Summer has been awesome and we hope you’ve had lots of time to create some amazing projects with your kids! How about a little giveaway to celebrate the unofficial end of summer?! Lawn Fawn has generously donated a prize package for us to give to one of our lovely followers! How do you win it? Just leave a comment on all the blogs in the hop! The more blogs you comment on the better chance you have of winning! One lucky person will be chosen from all of the blog comments to win the Lawn Fawn prize which includes the Little Fireflies stamp set, Year Eight stamp set, Slow Down and Enjoy stamp set, and the Perfectly Plaid Chill 6x6 paper pack! This giveaway closes in one week on Saturday August 25 and a winner will be chosen soon after! We also want to know how the theme of “back to school” inspires you? Creating awesome book covers? Making notes to

Intoducing the Power Pack

 Hello there, I've got something so fun for you today. I am apart of a mega blog hop for the introduction of the Power Pack by Pear Blossom Press.  It's an easier way to make a light up card. Here is a link to Amanda explaining the process in more details too.   https://pearblossompress.com/ power-pack/ The Power Packs are available three ways: Power Pack Kit (set of 3 power packs, batteries, copper tape, and 3 LED stickers) retail $15.99 USD Power Pack (3 units) (3 power packs with batteries only - perfect for people who already have Chibitronics kits, but don't want to make paper switches and battery holders) retail $9.99 USD Power Pack (single unit) (1 power pack with a battery) retail 4.99 USD Customers in the US can enter the code FREEUSA to receive free shipping on orders over $9 until May 11, 2019 International customers can enter the code INTL5 for $5 off International shipping until May 11, 2019. Customers in Canada will be able to order kits fr

Get Kids Crafty May Blog Hop Gardening theme

It's that time of month again where I share a fun crafty project that I made with my kiddo Riley for Get Kids Crafty. Hello and thank you for joining us for the May Get Kids Crafty! blog hop! We are thrilled to have you! Our theme this month is gardening and our kids have created some AMAZING projects to share with you! We had a lot of fun creating our project this month. We made a bumble bee mobile.  Both my kids love the song bringing home my baby bumble bee. Especially my youngest Liam, it seems to usually calm him down when he's upset.  So we created this fun project to the theme of the song.      First we had to die cut our bees, Here is Riley playing with an already cut bee in the Big Shot machine.      Here is Riley turning the handle on the Big Shot machine to cut out all our bees. We had to do 16 in total one for the front and back as you will see in a little bit. Here is what the finished bee looks like and the die cut that we used from