
September Get Kids Crafty Blog Hop Halloween


Hello, everyone! Thank you for joining us for our Get Kids Crafty September blog hop! Our theme is Halloween so gather your hats and brooms, pumpkins and cauldrons, and everything spooky! Our team and their kids have cooked up some amazing projects and we can’t wait to share them with you! Be sure to click through all of the links in the hop! Once you’re done it’s your turn to get crafty with the young ones in your life! We can’t wait to see what you make! Tag us on instagram @getkidscrafty and use the hashtag #getkidscrafty or post in our Facebook group (https://www.facebook.com/groups/getkidscrafty/)! We love seeing your creations!

We created monsters using two supplies, googly eyes and bread clips. Can you tell I like to do recycled projects?  We then turned these cute monsters into Halloween cards.  Keep scrolling to find out the process and see the finished cards. Also links to the other members of the Get Kids Crafty team will be listed below. 

We took two simple things and make something super cute and fun!


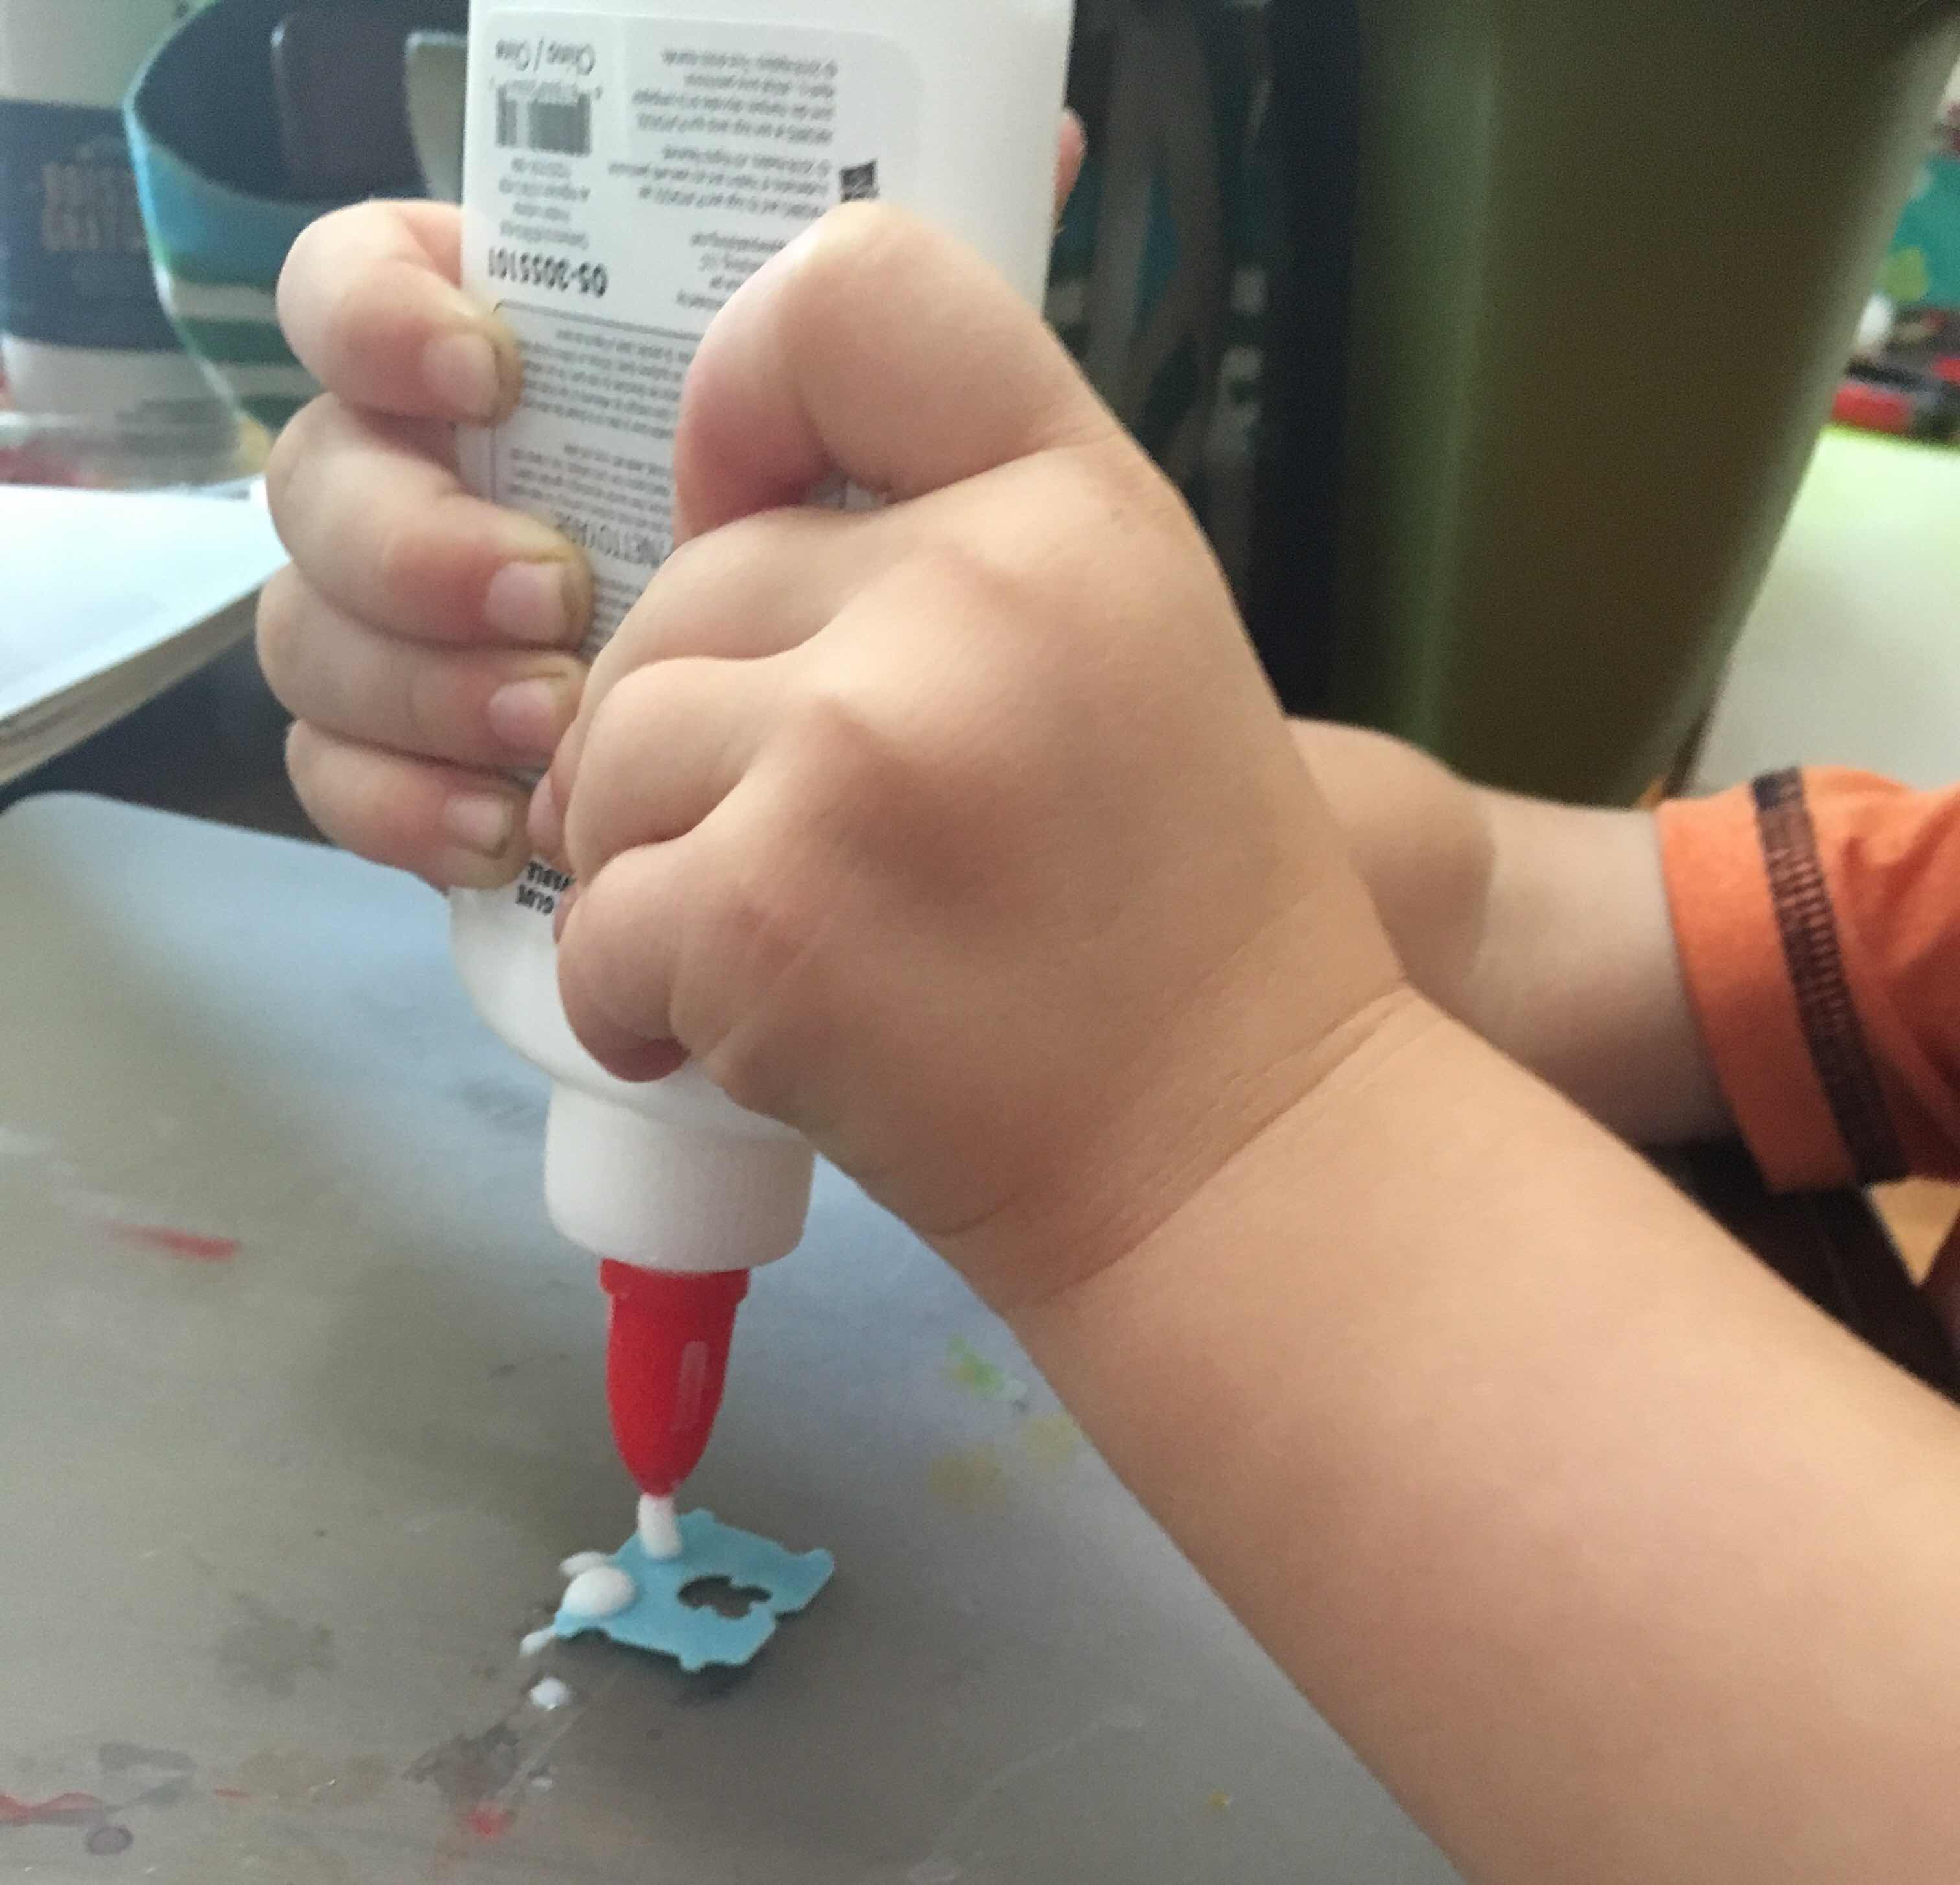
Riley started by adding liquid glue for the monsters google eyes.

Then he added the googly eyes some of our monsters had two eyes and some had only one. 
Waiting for our new friends to dry.  We’ve got quite the crew here. 

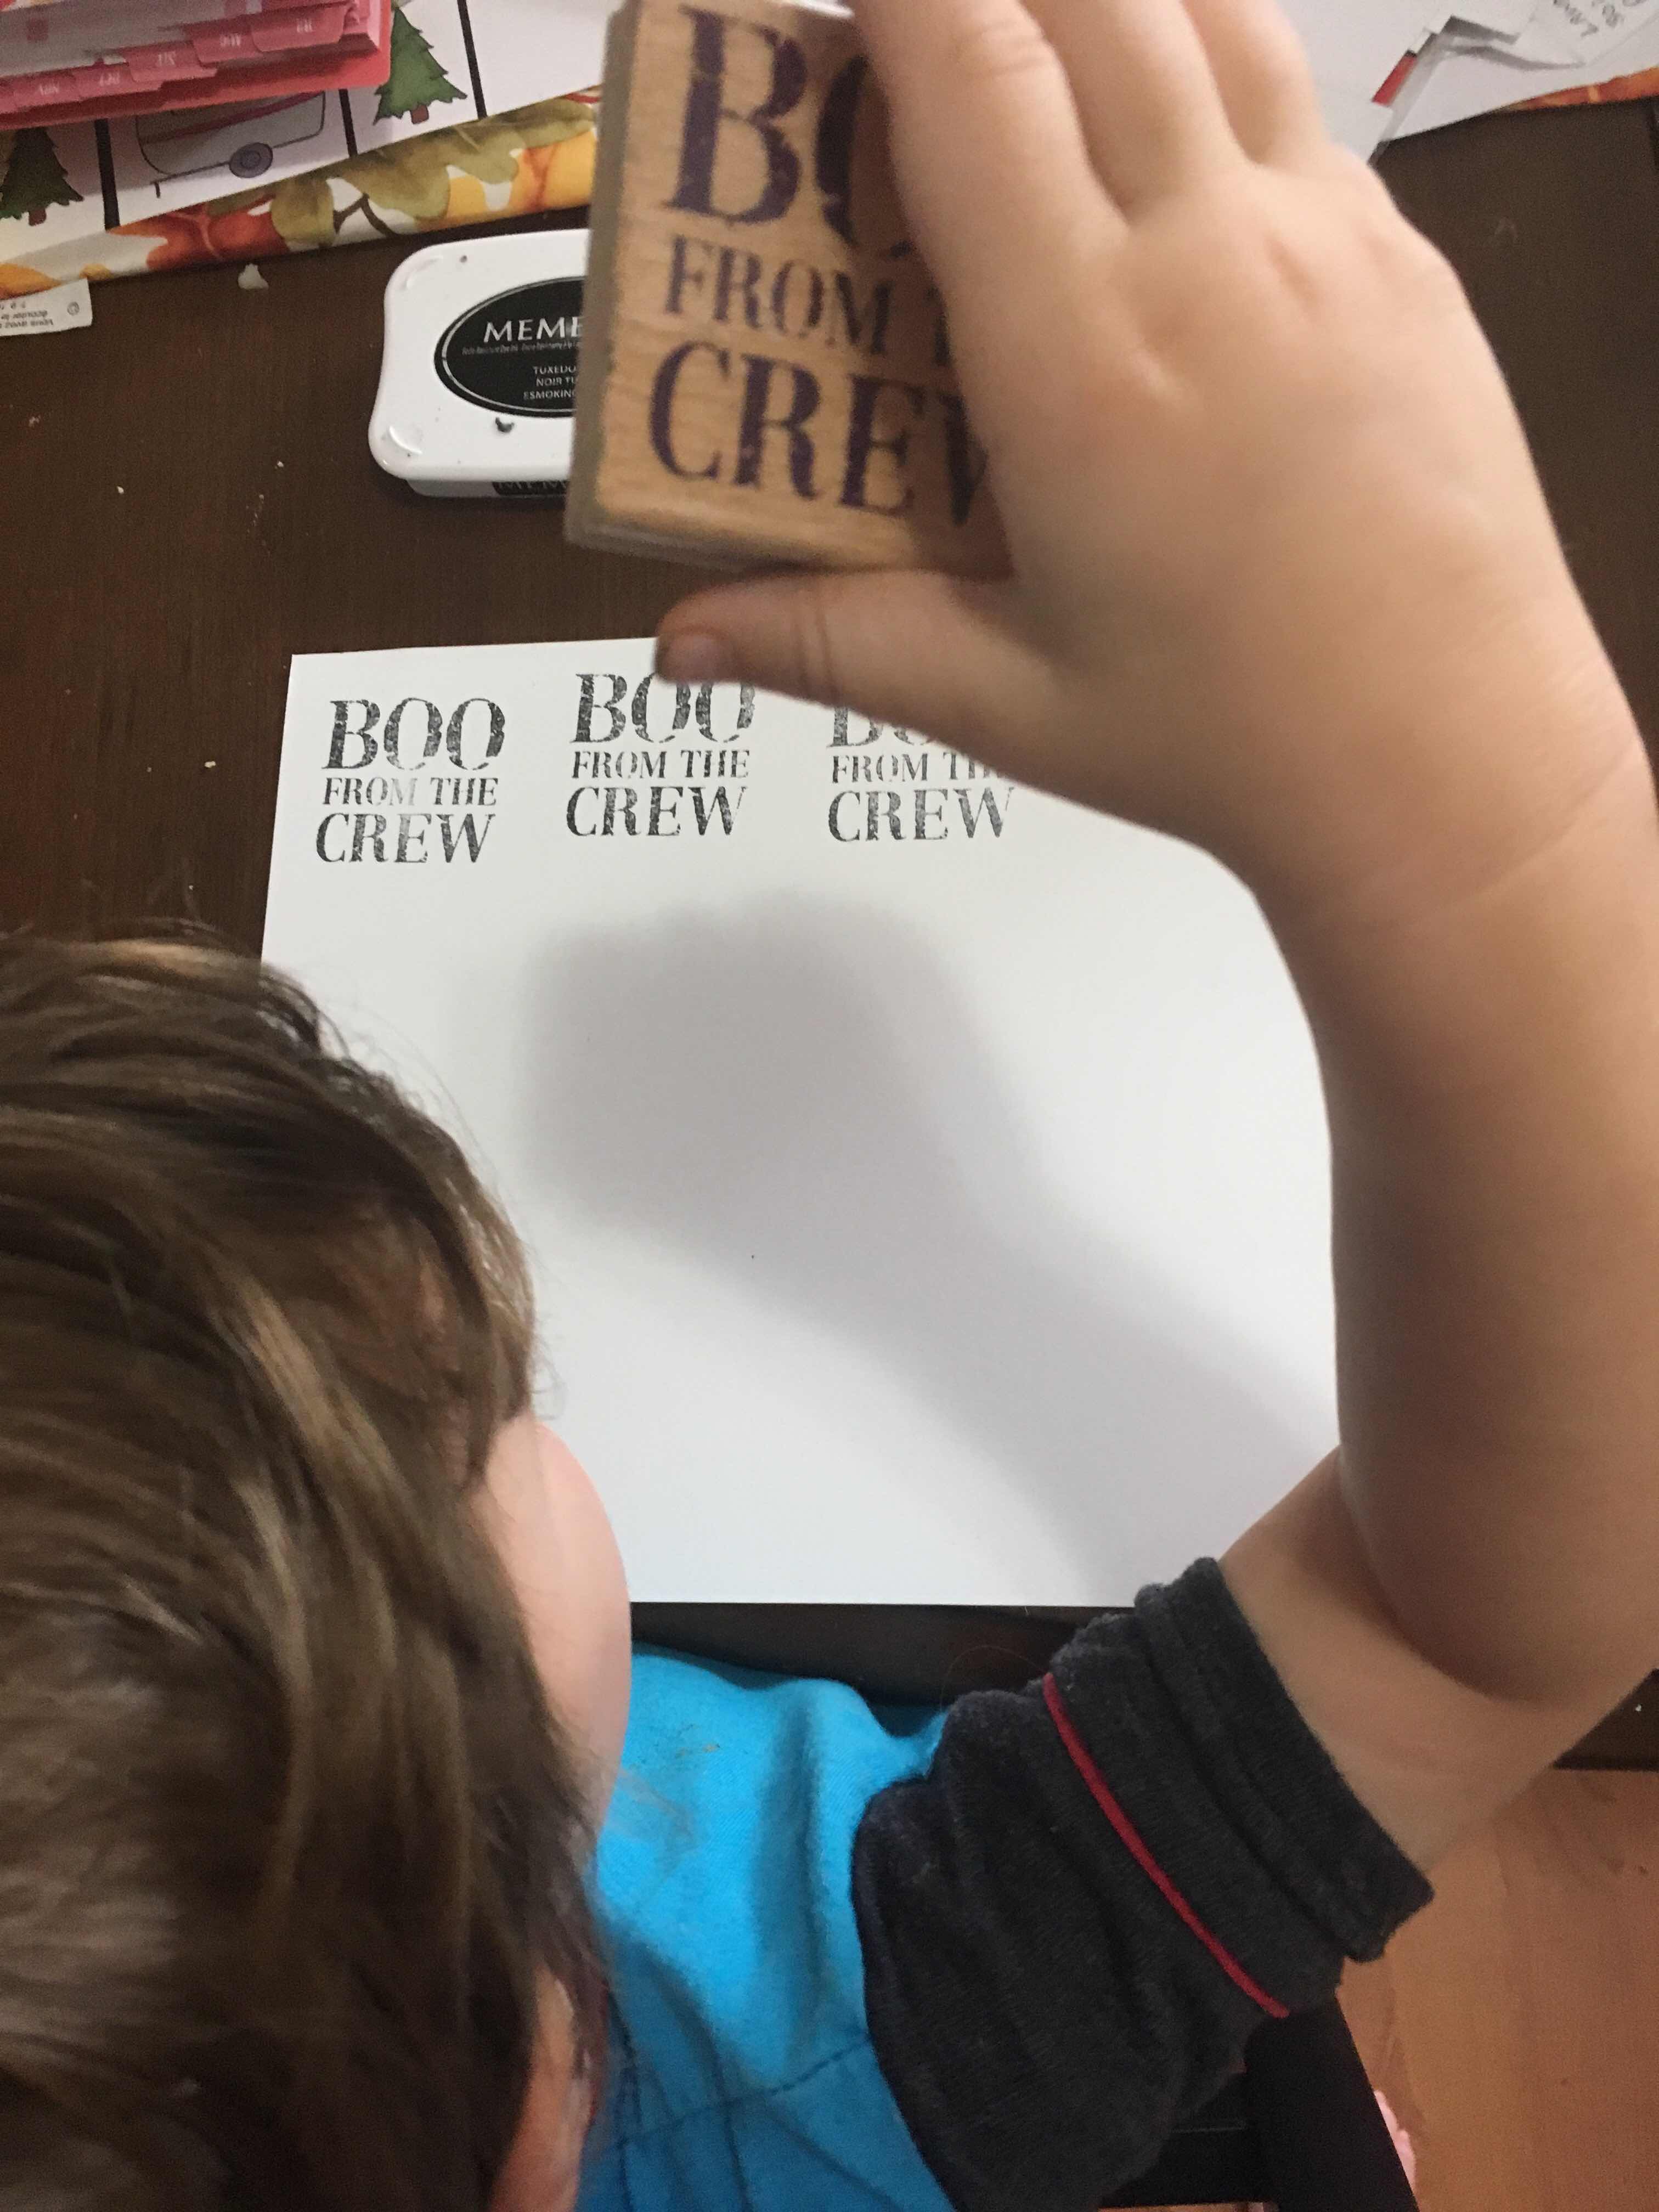
Next Riley used Memento tuxedo black ink to stamp the sentiment “Boo from the crew”.  He stamped on white card stock from the Micheal's Recollections collection.  The stamp is one I picked up awhile back from the Micheal's $1.50 stamp bin. 

We did this project over three days. So on this day Riley got to use the Big Shot machine to cut some rectangles from MY Favorite Things Rectangle STAX Set 1 . We cut four rectangles in total.

Next Riley took those four rectangles he cut earlier and he did some water coloring on the pieces. He used a basic kids water color palette.

Then I used the Scotch Advanced Tape Glider to adhere the watercolor piece to a card base to create a cute Halloween card.  We then used the Xyron sticker maker for the sentiment which we cut apart so that Riley could add the sentiment on all by himself along the bottom of the card. 

After that Riley added glue to the watercolors area so we could add our monsters. 


Then it was time for Riley to add the monsters and finish up our cards. 

Here is the finished project! 


Now it's time to hop and see the rest of the get kids crafty teams Halloween projects, links below
Annalisa <---------YOU ARE HERE 
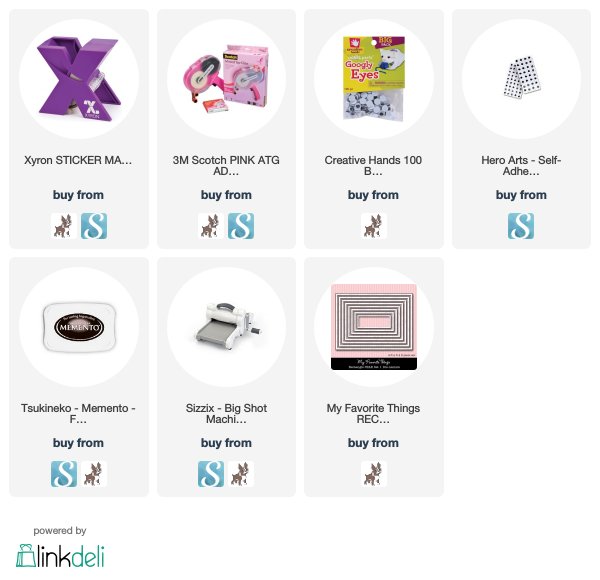
  Affiliate Link Disclosure: I participate in various affiliate programs. That means I receive a small commission, at no additional cost to you, when my readers purchase products through links I provide here on my blog. By participating in affiliate programs I am able to generate income by sharing links to the products I love. I only share product info for things I love and use in my projects. If I don't love it I won't endorse it here. I'm a proud affiliate of Scrapbook.com, and Simon says stamp.


Comments

Niccole said…
These are adorable! Great job! LOVE!!
Anonymous said…
Finally a use for all those bread ties!!!! Even a cyclops monster! Adorable & very well done. Good job Riley & Mama!

-Mom's the word

Popular posts from this blog

Get Kids Crafty August Blog Hop- Back to school

Hello! Thank you for joining us for the August Get Kids Crafty! blog hop! Our theme this month is back to school! Summer has been awesome and we hope you’ve had lots of time to create some amazing projects with your kids! How about a little giveaway to celebrate the unofficial end of summer?! Lawn Fawn has generously donated a prize package for us to give to one of our lovely followers! How do you win it? Just leave a comment on all the blogs in the hop! The more blogs you comment on the better chance you have of winning! One lucky person will be chosen from all of the blog comments to win the Lawn Fawn prize which includes the Little Fireflies stamp set, Year Eight stamp set, Slow Down and Enjoy stamp set, and the Perfectly Plaid Chill 6x6 paper pack! This giveaway closes in one week on Saturday August 25 and a winner will be chosen soon after! We also want to know how the theme of “back to school” inspires you? Creating awesome book covers? Making notes to

Intoducing the Power Pack

 Hello there, I've got something so fun for you today. I am apart of a mega blog hop for the introduction of the Power Pack by Pear Blossom Press.  It's an easier way to make a light up card. Here is a link to Amanda explaining the process in more details too.   https://pearblossompress.com/ power-pack/ The Power Packs are available three ways: Power Pack Kit (set of 3 power packs, batteries, copper tape, and 3 LED stickers) retail $15.99 USD Power Pack (3 units) (3 power packs with batteries only - perfect for people who already have Chibitronics kits, but don't want to make paper switches and battery holders) retail $9.99 USD Power Pack (single unit) (1 power pack with a battery) retail 4.99 USD Customers in the US can enter the code FREEUSA to receive free shipping on orders over $9 until May 11, 2019 International customers can enter the code INTL5 for $5 off International shipping until May 11, 2019. Customers in Canada will be able to order kits fr

Get Kids Crafty May Blog Hop Gardening theme

It's that time of month again where I share a fun crafty project that I made with my kiddo Riley for Get Kids Crafty. Hello and thank you for joining us for the May Get Kids Crafty! blog hop! We are thrilled to have you! Our theme this month is gardening and our kids have created some AMAZING projects to share with you! We had a lot of fun creating our project this month. We made a bumble bee mobile.  Both my kids love the song bringing home my baby bumble bee. Especially my youngest Liam, it seems to usually calm him down when he's upset.  So we created this fun project to the theme of the song.      First we had to die cut our bees, Here is Riley playing with an already cut bee in the Big Shot machine.      Here is Riley turning the handle on the Big Shot machine to cut out all our bees. We had to do 16 in total one for the front and back as you will see in a little bit. Here is what the finished bee looks like and the die cut that we used from