Hello there, I have two fun birthday cards to share with you today. I love how this turned out and they were so fun to make. These cards are part of my Recycle with me series over on my YouTube channel. So for today's cards I used some bubble wands as a stencil along with my distress oxide inks to create these fun backgrounds for my cards. As I was going through my kids summer toys and organizing I had an idea come to my mind to use these bubble wands as stencils. So of course I had to experiment. Also one of the handles had broken off and there are just so many fun shapes in these bubble wands. It would also be a great stencil for kids to learn how to draw shapes. Now your bubble wands can have a use all year long.
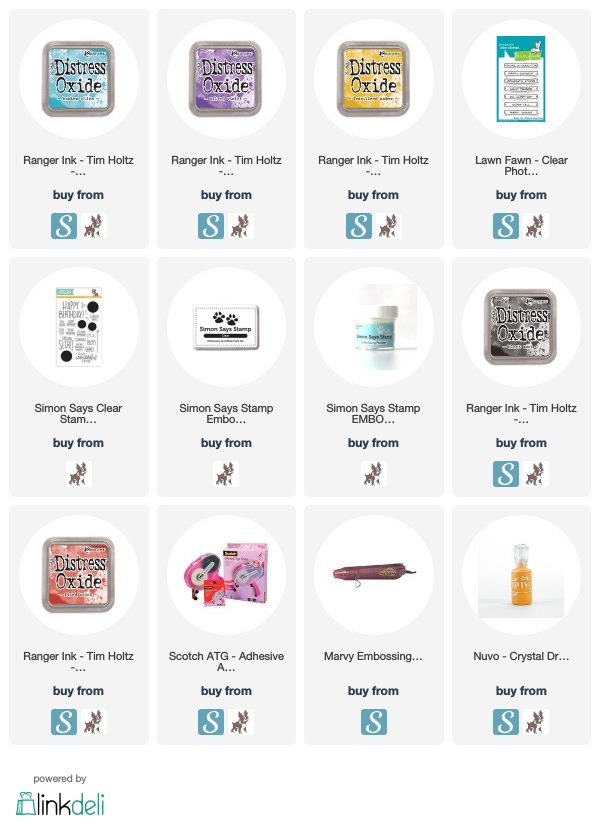
These cards were super simple to make. For the first card I used Fossilized Amber Distress Oxide ink and blended it onto my card base with the Dollarama make up brush. Then I took the star bubble wand and placed it on the card base. At this point I took a spray bottle of water and sprayed the stencil and then I took some paper towel and carefully dabbed the distress ink away until I was happy with the results and brave enough to remove the bubble wand stencil. Once I removed the bubble wand I used the paper towel to dab off any excess water and set it aside to dry. Once it was fully dry I added a sentiment "Happy Birthday" from Lawn Fawn's stamp set ready set shake. To stamp the sentiment I used Simon Says Stamp Clear embossing ink and stamped it on black. I then got out Simon Says Stamp white embossing powder and heat set that with the Marvey heat tool. To finish off this card I also added some dots with English Mustard Nuvo drops.
For the second card I used Broken China Distress Oxide ink and Wilted Violet Distress Oxide ink and blended them on to my card base with the Dollarama makeup brush once again. Then I placed the circle bubble wand on top and got out the spray bottle with water. I started spraying and also used the paper towel to dab off the excess water. When I was happy with the results I removed the bubble wand and dabbed off any extra water and left it to dry. When it was fully dry I used the "Happy Birthday" sentiment from Simon Says Stamp's set It's no secret. I stamped it in Simon Says Stamp clear embossing ink and used Simon Says Stamp white embossing powder over it. I then heat set that again with the Marvey heat tool.
To adhere the sentiments to the cards I used the Scotch Advanced Tape Glider.
I also created another background on another card base which I didn't end of finishing a card for but it's included in the video. For this one I used three of the longer bubble wands and didn't get the best results with them. I used Black Soot Distress oxide ink, Wilted Violet Distress oxide ink d Fired Brick Distress Oxide ink for this example.


Affiliate Link Disclosure: I participate in various affiliate programs. That means I receive a small commission, at no additional cost to you, when you purchase products through links I provide here on YouTube and my blog. By participating in affiliate programs I am able to generate income by sharing links to the products I love. I only share product info for things I love and use in my projects. If I don't love it I won't endorse it here. I'm a proud affiliate of Scrapbook.com and Simon says stamp.
Comments