Howdy! I wanted to get this card up a little earlier at the end of April as a play on the "April showers bring May flowers. " Though that didn't work out but I'm sharing it just at the start of May to kick off the flower season.
I used the stamp set "Puddle Jumper" from My Favorite Things". I loved this set as it reminds me of my boys so much. I'll show you a few different ways to personalize your stamped image.
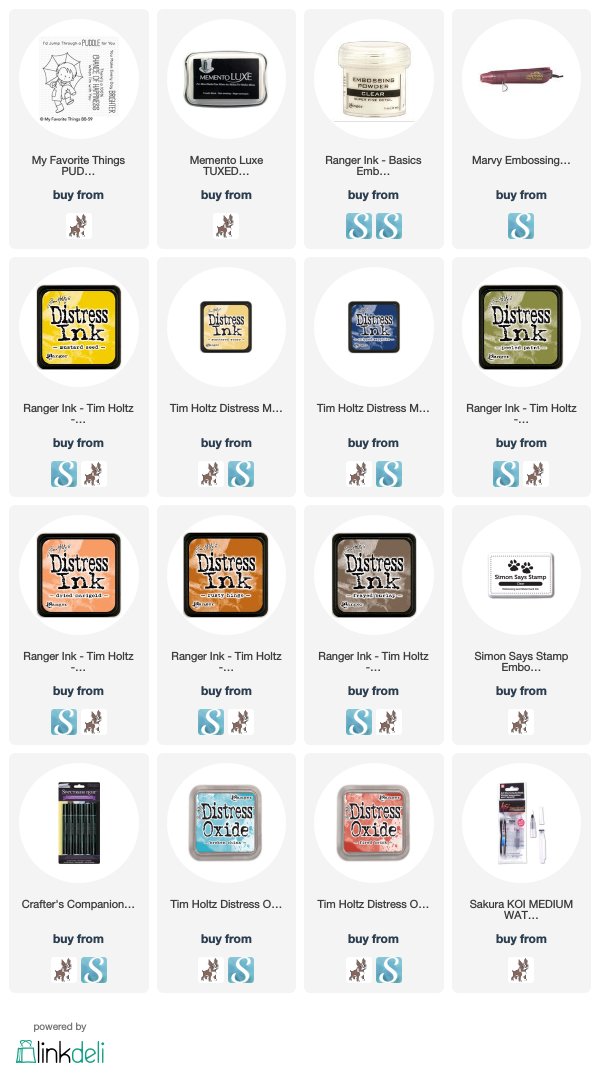
I started off by stamping the little boy from the set in Memento Luxe Tuxedo black ink on some water color paper. Then I used Ranger clear embossing powder and the Marvey heat tool.
After that I was ready to start my water coloring with distress inks. I used a sakura water brush to add the water to the distress inks. I sponged the ink directly onto the glass mat. I used the colors mustard seed, scattered straw, chipped sapphire, peeled paint, dried marigold, rusty hinge and frayed burlap.
Next came the personalizing of each stamped image. For the little boy with the yellow cut which represent my oldest boy Riley. I found some Minion stickers I had in my collection and added them to the umbrella. I had to cut some down to fit onto the umbrella.
For the second little boy which represents my youngest son Liam. I wanted to add a paper piece to this image's rain coat. I grabbed some dinosaur scrapbook paper I had in my collection. As you can tell my youngest little guy loves dinosaurs. So I stamped the image again on the dinosaur paper and fussy cut out just the coat to add to the stamped image. I used a true black spectrum noir marker to finish the edges and help the paper fit into the stamped image better.
When both of my stamped images were personalized I fussy cut them out and finished off the edges once again with the true black spectrum noir marker.
At this point I was ready to work on my sentiments. I pulled out some previously made card bases where I had already created a background. (I did this in a previous video on my YouTube channel using distress oxides and bubble wrap) check that process out at the link below.
Distress Oxide & Paint Backgrounds with Bubble Wrap (For these two card bases I used Broken China distress oxide ink & Fired Brick distress oxide ink)
For the sentiments I used Simon Says Stamp Clear embossing ink and then I used Martha Stewart red and blue embossing powder I had in my collection. The sentiments were from the same stamp set from My Favorite Things "Puddle Jumper."
Lastly, I used foam squares to pop up the little boys on the card and that finished off the cards.

 Affiliate Link
Disclosure: I participate in various affiliate programs. That means I receive a
small commission, at no additional cost to you, when you purchase products
through links I provide here on YouTube and my blog. By participating in
affiliate programs I am able to generate income by sharing links to the
products I love. I only share product info for things I love and use in my
projects. If I don't love it I won't endorse it here. I'm a proud affiliate of
Scrapbook.com and Simon says stamp.
Affiliate Link
Disclosure: I participate in various affiliate programs. That means I receive a
small commission, at no additional cost to you, when you purchase products
through links I provide here on YouTube and my blog. By participating in
affiliate programs I am able to generate income by sharing links to the
products I love. I only share product info for things I love and use in my
projects. If I don't love it I won't endorse it here. I'm a proud affiliate of
Scrapbook.com and Simon says stamp.
I used the stamp set "Puddle Jumper" from My Favorite Things". I loved this set as it reminds me of my boys so much. I'll show you a few different ways to personalize your stamped image.
I started off by stamping the little boy from the set in Memento Luxe Tuxedo black ink on some water color paper. Then I used Ranger clear embossing powder and the Marvey heat tool.
After that I was ready to start my water coloring with distress inks. I used a sakura water brush to add the water to the distress inks. I sponged the ink directly onto the glass mat. I used the colors mustard seed, scattered straw, chipped sapphire, peeled paint, dried marigold, rusty hinge and frayed burlap.
Next came the personalizing of each stamped image. For the little boy with the yellow cut which represent my oldest boy Riley. I found some Minion stickers I had in my collection and added them to the umbrella. I had to cut some down to fit onto the umbrella.
For the second little boy which represents my youngest son Liam. I wanted to add a paper piece to this image's rain coat. I grabbed some dinosaur scrapbook paper I had in my collection. As you can tell my youngest little guy loves dinosaurs. So I stamped the image again on the dinosaur paper and fussy cut out just the coat to add to the stamped image. I used a true black spectrum noir marker to finish the edges and help the paper fit into the stamped image better.
When both of my stamped images were personalized I fussy cut them out and finished off the edges once again with the true black spectrum noir marker.
At this point I was ready to work on my sentiments. I pulled out some previously made card bases where I had already created a background. (I did this in a previous video on my YouTube channel using distress oxides and bubble wrap) check that process out at the link below.
Distress Oxide & Paint Backgrounds with Bubble Wrap (For these two card bases I used Broken China distress oxide ink & Fired Brick distress oxide ink)
For the sentiments I used Simon Says Stamp Clear embossing ink and then I used Martha Stewart red and blue embossing powder I had in my collection. The sentiments were from the same stamp set from My Favorite Things "Puddle Jumper."
Lastly, I used foam squares to pop up the little boys on the card and that finished off the cards.


Comments