Hello there, it's Friday! I've got a very fun card and technique to share with you today. You can read all about it below or hop on over to my YouTube channel to see this card and technique in action. I seriously recommend watching the video. This fun method needs to be seen. On today's video I also have some cute clips of me and my kids playing with bubbles. A glimpse into my daily life. Alright, let me explain what today's card is all about.
Before, I get started and tell you my process. I want to share how this idea came about and the inspiration behind this. My kids who are almost 4 and 1 1/2 love playing with and blowing bubbles outside. So after a fun day of blowing bubbles outside I had a thought "hey distress oxides react with water and bubbles are just water with some added ingredients. I wonder!" so this idea is totally inspired by my kiddos and our bubble play.
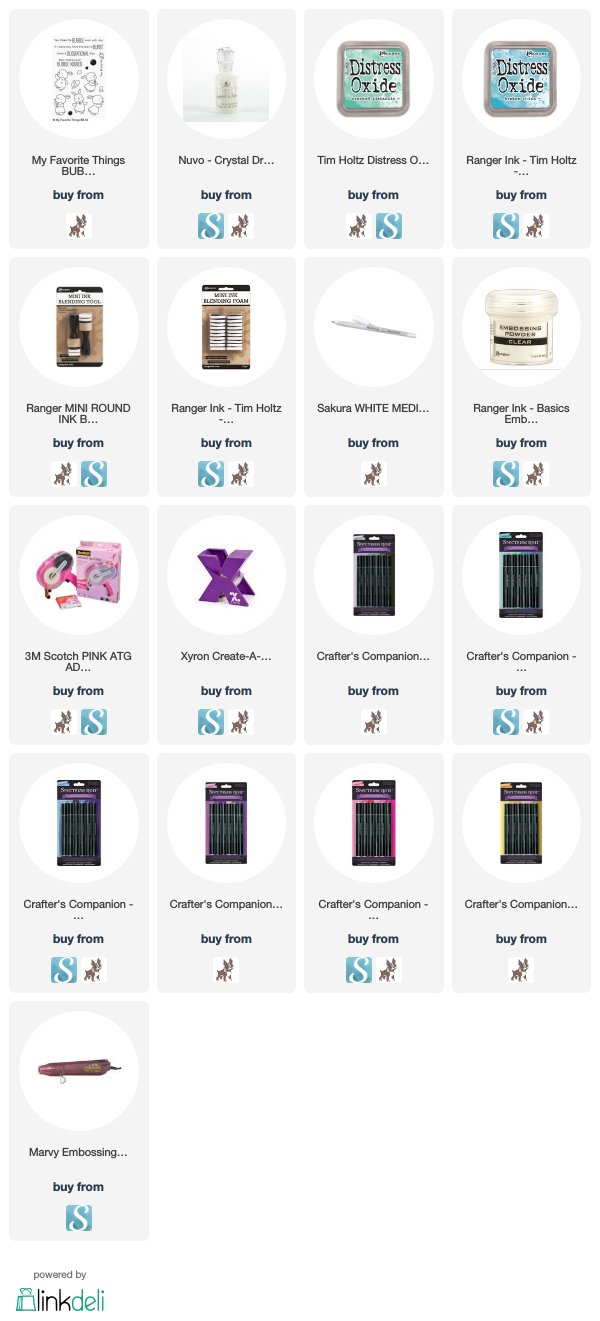
I got out some card stock and cut it to my desired size. Then I got out two distress oxide ink colors (any colors could be used) but I chose broken china and cracked pistachio. I used the mini ink blending tools by ranger and blended these two colors on the card stock.
Then comes the fun blowing bubbles directly at the paper and seeing how it reacts and the effects that the bubbles can make on the paper. I strongly encourage you to check out the video, because words can not really tell you about the process of this. Plus it's just really fun to see the bubbles in action and the reaction they have with the distress oxide inks on the paper.
For the images and sentiment I used My Favorite Things "Bubble over with joy" stamp set with these adorable bunnies. I stamped the bunnies using Memento Tuxedo Black ink and colored them with spectrum noir markers. I Used 1G6, IG4, BT5, BT7, LV2, BP2, FS6, TB3. To add some details to their outfits I used the sakura white Gelly roll pen.
For the sentiment I used memento tuxedo black ink again and used Ranger Clear embossing powder quickly and heat set that using the marvey heat tool to melt the embossing powder. To view other options in embossing heat tools, click this link from amazon ------->embossing heat tool there are so many options see which one is best for you!
To adhere everything together I used the Xyron sticker maker to adhere the bunnies and the Scotch advanced tape glider to adhere the panel to the card base.
To emphasis the bubbles that the bunnies are blowing I used Nuvo crystal drops in the color "Morning dew" which dries clear so you can still see all the details the bubbles left on the background but emphasis it too.

Thank you so much for stopping by today, I hope you have a fun day and that you try this project out because it's so fun!
 Affiliate Link
Disclosure: I participate in various affiliate programs. That means I receive a
small commission, at no additional cost to you, when you purchase products
through links I provide here on YouTube and my blog. By participating in
affiliate programs I am able to generate income by sharing links to the
products I love. I only share product info for things I love and use in my
projects. If I don't love it I won't endorse it here. I'm a proud affiliate of
Scrapbook.com, amazon associates and Simon says stamp.
Affiliate Link
Disclosure: I participate in various affiliate programs. That means I receive a
small commission, at no additional cost to you, when you purchase products
through links I provide here on YouTube and my blog. By participating in
affiliate programs I am able to generate income by sharing links to the
products I love. I only share product info for things I love and use in my
projects. If I don't love it I won't endorse it here. I'm a proud affiliate of
Scrapbook.com, amazon associates and Simon says stamp.
Before, I get started and tell you my process. I want to share how this idea came about and the inspiration behind this. My kids who are almost 4 and 1 1/2 love playing with and blowing bubbles outside. So after a fun day of blowing bubbles outside I had a thought "hey distress oxides react with water and bubbles are just water with some added ingredients. I wonder!" so this idea is totally inspired by my kiddos and our bubble play.
I got out some card stock and cut it to my desired size. Then I got out two distress oxide ink colors (any colors could be used) but I chose broken china and cracked pistachio. I used the mini ink blending tools by ranger and blended these two colors on the card stock.
Then comes the fun blowing bubbles directly at the paper and seeing how it reacts and the effects that the bubbles can make on the paper. I strongly encourage you to check out the video, because words can not really tell you about the process of this. Plus it's just really fun to see the bubbles in action and the reaction they have with the distress oxide inks on the paper.
For the images and sentiment I used My Favorite Things "Bubble over with joy" stamp set with these adorable bunnies. I stamped the bunnies using Memento Tuxedo Black ink and colored them with spectrum noir markers. I Used 1G6, IG4, BT5, BT7, LV2, BP2, FS6, TB3. To add some details to their outfits I used the sakura white Gelly roll pen.
For the sentiment I used memento tuxedo black ink again and used Ranger Clear embossing powder quickly and heat set that using the marvey heat tool to melt the embossing powder. To view other options in embossing heat tools, click this link from amazon ------->embossing heat tool
To adhere everything together I used the Xyron sticker maker to adhere the bunnies and the Scotch advanced tape glider to adhere the panel to the card base.
To emphasis the bubbles that the bunnies are blowing I used Nuvo crystal drops in the color "Morning dew" which dries clear so you can still see all the details the bubbles left on the background but emphasis it too.


Comments