Hello Hello today I have a card to share with a video on my YouTube channel where you can see my process and hear from me.
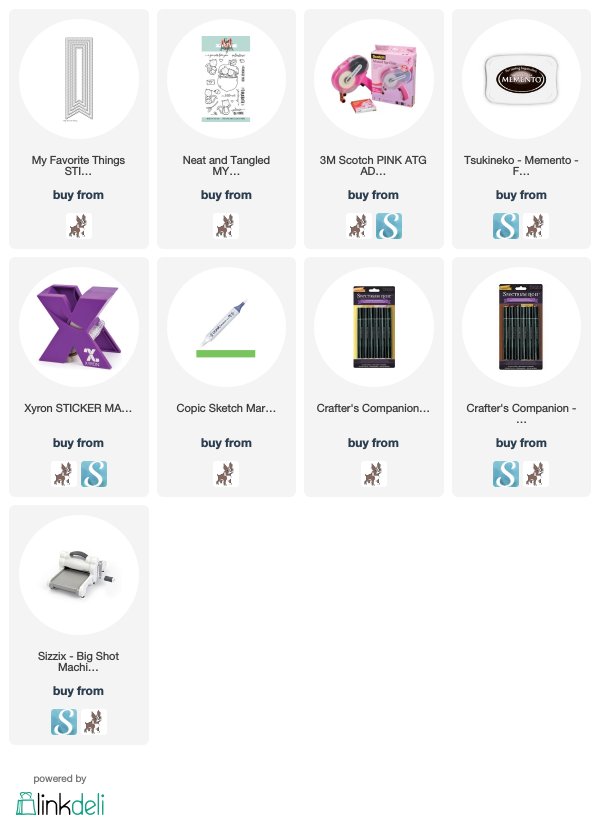
I created this cute anniversary card using Neat and Tangled Favorite Nut stamp set. I used Memento tuxedo black ink and stamped my image on Spectrum Noir ultra smooth premium card stock. Then I pulled out my Spectrum Noir markers. I used TN7 & TN8 for the browns. I blended them with FS3 & used that marker for the tummy and tail. For the acorn leaves I used a combo of YG17 Green Grass (Copic marker) and DG3.
I cut down a card base using some cream card stock from Micheal’s Recollections card stock.
Then I cut a piece of kraft card stock and ran it through my Big Shot machine and used the Rays & Retro circles Tim Holtz Alterations embossing folder. (This embossing folder is discontinued, sorry. I don’t want to stop using the supplies I have on hand though as you know you know craft supplies all add up)
After that I adhered everything together using the scotch advanced tape glider. To adhere the number 7 to the acorn image I used the Xyron sticker maker for quick and easy application. Then I popped the image up on scotch foam tape and added it to the card.
For my sentiment I did something a little out of the box for me. This card is an anniversary card for my friends who are celebrating 7 years of marriage wahoo!!! So I only have one anniversary stamp in my collection and I couldn’t find it when I was making this card. I also knew that it wasn’t the look I was going for. So I switched things up a bit and decided to write my own sentiment. I cut a little banner with the Big Shot machine and My Favourite Things Fishtail Flags STAX Die-namics. (This seems to be discontinued, I linked to a similar product MFT that would do a similar job) To write the sentiment I used a black pen from America Crafts. Then I used the Spectrum Noir True Black marker to go around the edges of the banner to get it stand out a bit more. Then I adhered the banner to the card using the Xyron sticker maker again.
As one final step to finish off the card I used Memento tuxedo black ink to distress the edges of the card base to finish off the layers.

Affiliate Link Disclosure: I participate in various affiliate programs. That means I receive a small commission, at no additional cost to you, when my readers purchase products through links I provide here on my blog. By participating in affiliate programs I am able to generate income by sharing links to the products I love. I only share product info for things I love and use in my projects. If I don't love it I won't endorse it here. I'm a proud affiliate of Scrapbook.com, and Simon says stamp.


Affiliate Link Disclosure: I participate in various affiliate programs. That means I receive a small commission, at no additional cost to you, when my readers purchase products through links I provide here on my blog. By participating in affiliate programs I am able to generate income by sharing links to the products I love. I only share product info for things I love and use in my projects. If I don't love it I won't endorse it here. I'm a proud affiliate of Scrapbook.com, and Simon says stamp.

Comments