Hello there, can you believe October is almost over how did that happen? Tomorrow is Halloween and there is still time to run out and get a pumpkin and carve it just in time for your Halloween festivities.

I love how this card turned out! Enjoy your Halloween festivities tomorrow and come back tomorrow I’ll have a Halloween card with video for you.
Affiliate Link Disclosure: I participate in various affiliate programs. That means I receive a small commission, at no additional cost to you, when my readers purchase products through links I provide here on my blog. By participating in affiliate programs I am able to generate income by sharing links to the products I love. I only share product info for things I love and use in my projects. If I don't love it I won't endorse it here. I'm a proud affiliate of Scrapbook.com, and Simon says stamp.

Let me help you with that crafty style today I’ve got a very fun card using the stamp set So Sweet by Beth Duff Designs. This set was from her summer release and meant to be a lemonade stand. Though this idea came to me and I wanted to get more use out my stamp plus why not get multiple uses out of your more seasonal stamps. My brain is already thinking what else could this little stand sell, hehe!
I’ve also got a process video on my YouTube channel if you’re interested in seeing how this card came together. Find the video below and a link to watch it directly on YouTube in HD.
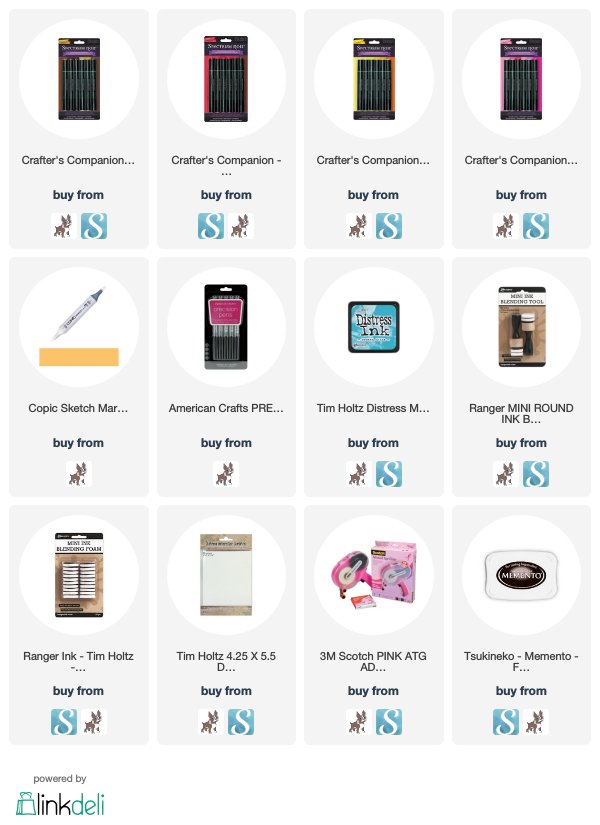
For the card I stamped the lemonade/pumpkin stand on Spectrum Noir premium ultra smooth card stock. Then of course colored it with Spectrum Noir markers. I used TN7, OR1, CR10,DR3 and to add some shading to the pumpkins in the end I used a copic marker chrome orange YR04.
To write on the sign I used a American Crafts precision pen.
Then I cut out the image for the inner window part of the stand I used an exact o knife. Then I used scissors on the outer part.
Next I cut down some Distress Watercolor card stock to fit inside the pumpkin stand window. Then I used a blending tool with Broken China distress ink to create blue skies behind the window. Then I adhered that piece to the back of the stamped image with the Scotch Advanced Tape Glider.
At this point I cut my card base which was from Kraft card stock from the Micheal's Recollections card stock. For the patterned paper and sentiment I used the Micheal's Recollections Pumpkin Spice Hot Buy paper pad.
After all my paper was cut I adhered everything together with the Scotch advanced tape glider.
Lastly I stamped the pumpkins in memento tuxedo black ink. Then coloured them and after cutting them out I used Scotch foam mounting tape to adhere them. For the pumpkin I used Simon Says Stamp/greeting farm Stamptember Exclusive from 2017 as it was the only set where I had a small pumpkin that would work for this card. (This Set is no longer available) though any small pumpkin stamp would work for this.
I love how this card turned out! Enjoy your Halloween festivities tomorrow and come back tomorrow I’ll have a Halloween card with video for you.
Affiliate Link Disclosure: I participate in various affiliate programs. That means I receive a small commission, at no additional cost to you, when my readers purchase products through links I provide here on my blog. By participating in affiliate programs I am able to generate income by sharing links to the products I love. I only share product info for things I love and use in my projects. If I don't love it I won't endorse it here. I'm a proud affiliate of Scrapbook.com, and Simon says stamp.

Comments