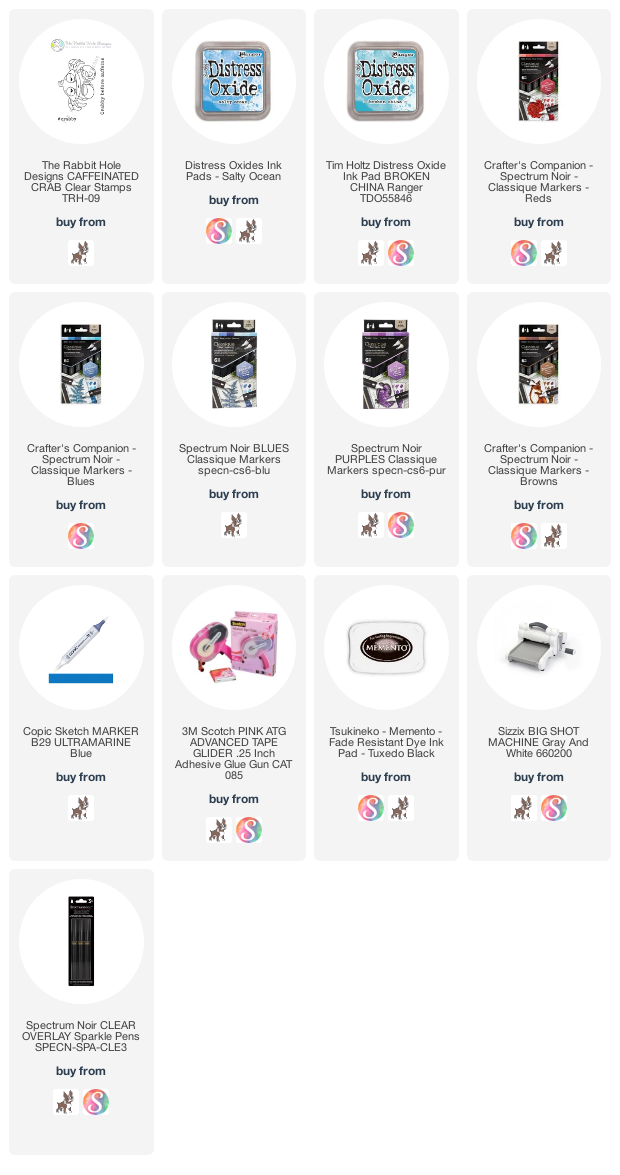
Hello Everyone! Thanks for coming by today. I've got a fun and simple card for you today. For today's card I'm using the "Caffeinated Crab" from The Rabbit Hole Designs. I thought this little guy would be perfect for a summer card.
I also wanted to mention I recently became an affiliate with the Rabbit Hole Designs. That means I can link directly to the store now. When you make a purchase directly through The Rabbit Hole Designs website I earn a small commission at no extra cost to you. I always end of ordering directly from their site as they have great costumer service and fast shipping. There shipping is super affordable to Canada too where I am so that's a bonus for me.
I started off by creating my background for the card directly on the card base. To create the background I pulled out one of the wave stencils that I recently created in my silhouette cameo machine. To ink up the stencil I used distress oxide inks and a make up brush to apply the colors. The oxide inks I used were Salty Ocean and Broken China.
Once the background was all done I was able to move onto the image and stamp it in Memento Tuxedo Black ink. Then it was time to color the image. So of course I pulled out my Spectrum Noir markers. I used some browns, blues, reds and purples. I also used one copic marker and that was B29 Ultramarine.
Once the coloring was all done I fussy cut this little guy out and left a bit of a boarder around the image.
At this point I used my Sizzix Big Shot Machine to cut out two different sized circles with the Spellbinders Nestabilities Standard Circle Dies. (You could definitely use whatever circle dies you have in your stamping collection) Once those were cut out I adhered the black circle to the card base flat with the Advanced Tape Glider. For the Brown circle before I added foam tape to the circle to pop it off I added some Memento Tuxedo Black ink around the edges to make it stand out and pop against the black circle.
I also added foam tape to the crab and popped that up as well giving the card some dimension. For the sentiment I used the sentiment from the same stamp set that says "Crabby before Caffeine". I stamped that in Memento Tuxedo Black ink on white card stock and cut it out into a strip to adhere to my card. I also went ahead and added a black boarder with a black pen around the sentiment to make it stand out even more. I also stamped one more sentiment underneath the crab on the brown circle from that same stamp set and that sentiment was "#crabby". As one last touch I used the Spectrum Noir Clear Sparkle Overlay pen to add some sparkle to the black circle and a bit on the waves as well.
Thank you so much for stopping by today. I hope you were inspired by this card today.
Affiliate Link Disclosure: I participate in various affiliate programs. That means I receive a small commission, at no additional cost to you, when you purchase products through links I provide here on YouTube and my blog. By participating in affiliate programs I am able to generate income by sharing links to the products I love. I only share product info for things I love and use in my projects. If I don't love it I won't endorse it here. I'm a proud affiliate of Scrapbook.com and Simon says stamp, amazon associates and the rabbit hole designs.


Comments