Hello there, today I’ve got some cleaning motivation here and over on my YouTube channel.
I cleaned up the current mess from recent projects and some other things I’d put on my desk as I was decluttering other areas in the craft room.

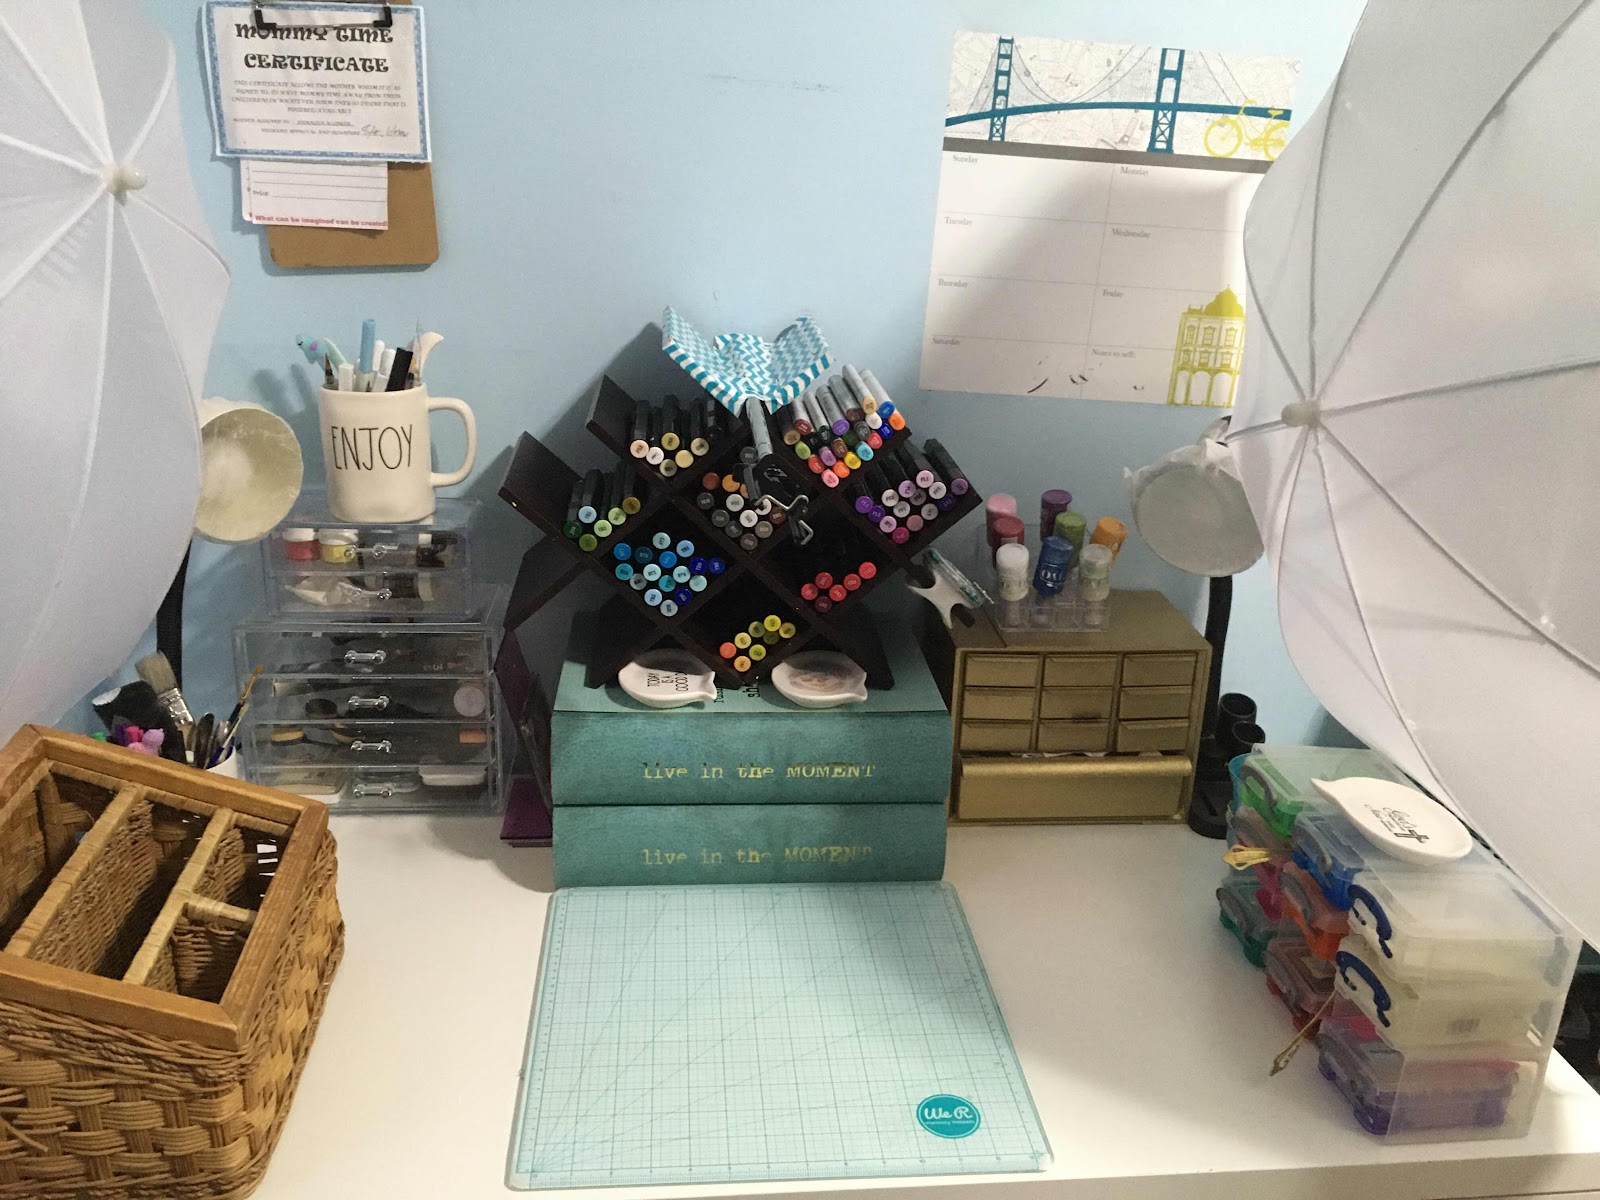
I removed all the cups storing various pens and items and moved my embossing powder organizer over to here.
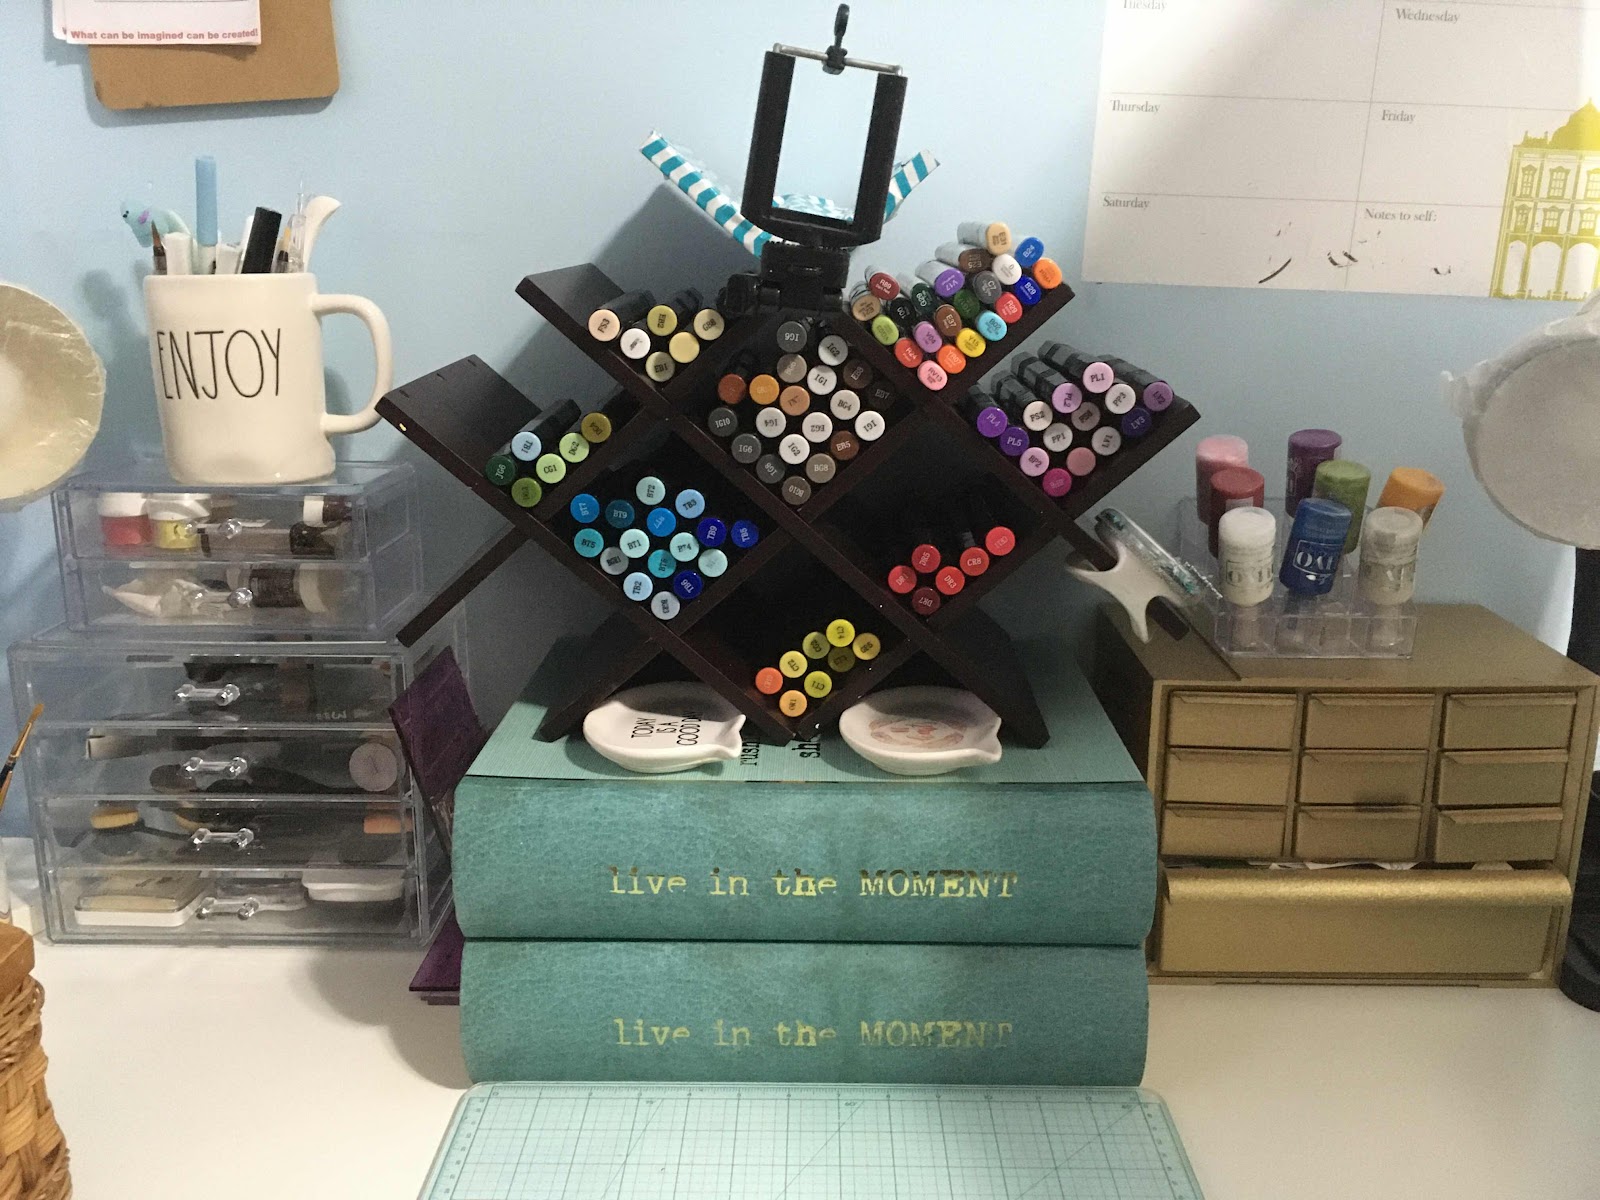
Behind the basket I have two cups that were previously on my desk storing some more pens that I am constantly using. Though I did remove two other cups and declutter the pens and odds and ends in them. I moved the pens that worked to another location in my craft space where I store pens. Also got rid of the pens that didn’t work and did the same with the random bits and pieces or put them where they belong.

Here is a picture without the wicker basket on the desk. This also allows you to see just the two cups on the desk that I mentioned above with my pens and tools I used often.
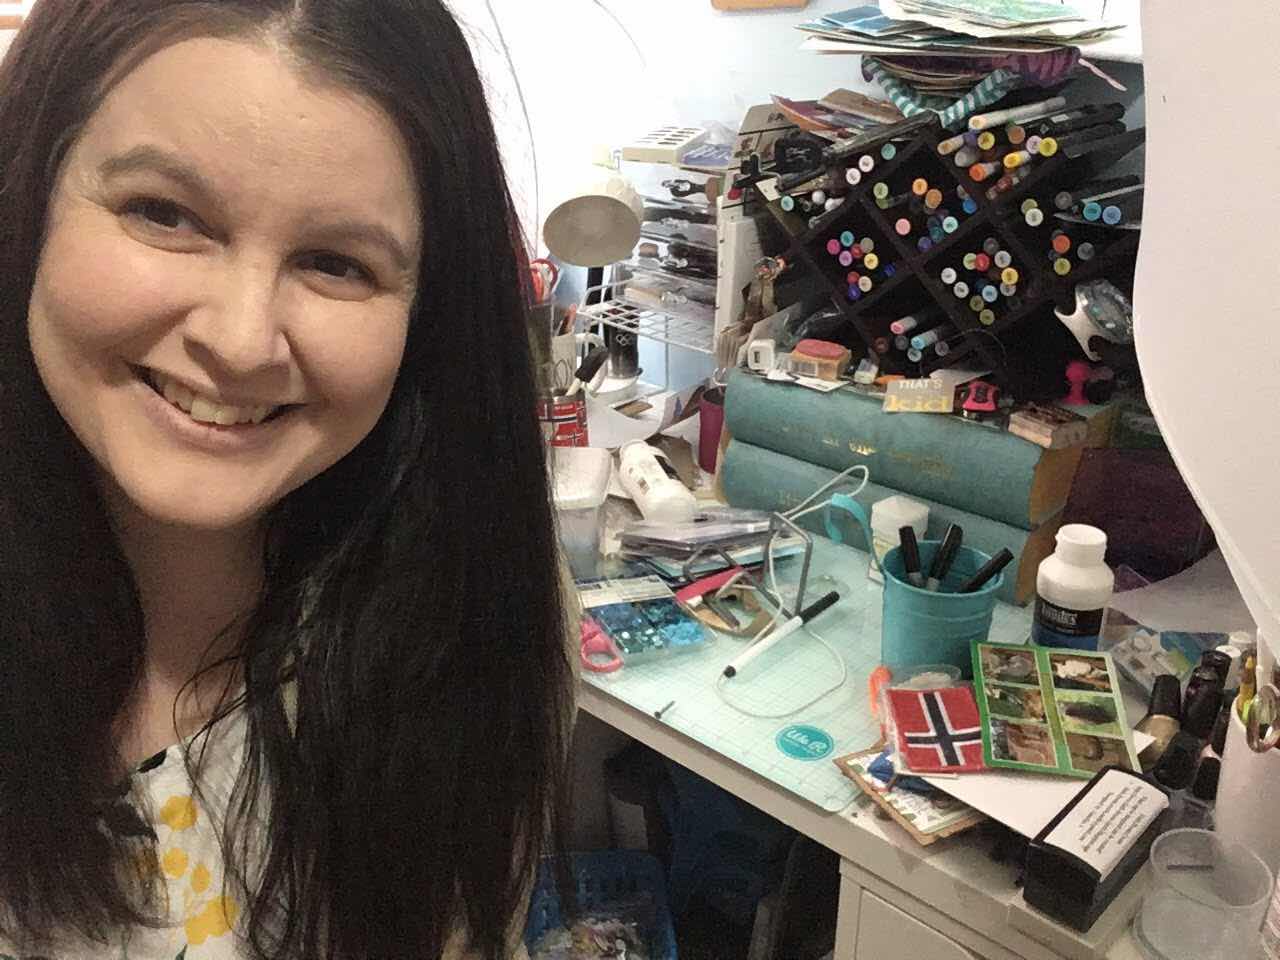
My desk really needed to be decluttered and refreshed. I filmed the process to give you some cleaning motivation today.
I cleaned up the current mess from recent projects and some other things I’d put on my desk as I was decluttering other areas in the craft room.
Then I took everything off the desk so I could wipe down the desk with some cleaner. Then I took a few things off permanently, added a few new pieces and rearranged things in my desk. This gave it a fresh look with a little less things on it and easier to access the current supplies I store on my desk.
Also how fun to these new scissors look. I recently got this bright coloured scissors from Michael’s. I showed them in my last haul video. I’m loving them!


I added this organizer to my desk and placed my nuvo drops top. This organizer was my grandmas and I store extra embellishments and small things in it.
Before I switched things up on my desk the previous set up my nuvo drops container kept falling down. So this definitely solved the problem.

I stacked my clear organizers on top of each other. I love the simplicity of this. I added my Rae Dunn “Enjoy” cup on top with my used tools and pens.
At first I also put that wicker organizer basket on my desk as an experiment. My idea was as I’m working on a project I can put my supplies in there instead of having them pile up on my desk. Then when I get a chance I can clean that out and put everything back. I’m not sure if I will keep this there.
I feel like it’s a great idea but I think this particular basket might be too deep just for this task. I will have to see if I can find a better solution and organizer to collect all the supplies that end up on my desk from various projects.
Then of course I had to remove all my copic, spectrum noir and randomness from this wine rack which is also my filming location. When I removed everything I wiped down the wine rack where I store all my markers. Then I was able add back in the markers and put them in nicely by colour. I also grouped all my comics together. I have mostly spectrum noir markers but a small collection of copic markers too.
I love how all of this looks together. Simple, bright and organized.
Here is a picture without the wicker basket on the desk. This also allows you to see just the two cups on the desk that I mentioned above with my pens and tools I used often.
During my clean up process prior to my desk declutter I was organizing a few other areas in my craft room. During this time I found the letters for my light up box. I had misplaced them in my craft room and couldn’t remember where they were. So I was excited to find them. I wrote “Let’s do this!” with the letters to give myself some motivation to keep going with the desk makeover. I hope these simple words can give you some motivation too.
Thank you so much for stopping by today. Definitely check out the YouTube video for the whole process and transformation of my desk in my craft room.
Favorite places to shop:
Simon Says Stamp -https://shrsl.com/2b6zf
Scrapbook.com- https://shrsl.com/2b6zh
Affiliate Link Disclosure: I participate in various affiliate programs.
That means I receive a small commission, at no additional cost to you,
when you purchase products through links I provide here on YouTube and
my blog. By participating in affiliate programs I am able to generate
income by sharing links to the products I love. I only share product
info for things I love and use in my projects. If I don't love it I
won't endorse it here. I'm a proud affiliate of Scrapbook.com and Simon
says stamp.
Comments