
Glory to God

Christmas is one week away! Are you ready? I've got a Christmas card to share with today that as we countdown to Christmas this week.

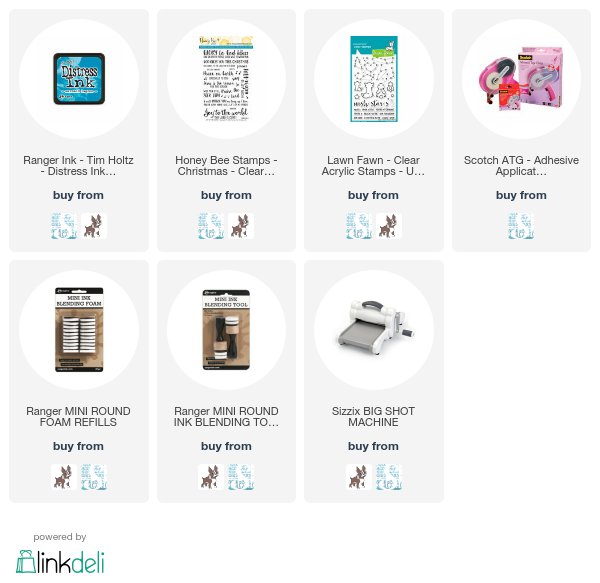
For this card I used Honey Bee "Joy to the world" clear stamp set for the sentiment. It was stamped in Ranger clear ink and then I used Micheal's Recollections white embossing powder and heat set it.  The stars are from Lawn Fawns upon a star clear stamps. They are also stamped in the ranger clear ink and heat embossed with the white embossing powder.  

Then I sponged Mermaid Lagoon distress ink over the sentiment to create the background.  The nativity die is an old sizzix die.  


 Affiliate Link Disclosure: I participate in various affiliate programs. That means I receive a small commission, at no additional cost to you, when my readers purchase products through links I provide here on my blog. By participating in affiliate programs I am able to generate income by sharing links to the products I love. I only share product info for things I love and use in my projects. If I don't love it I won't endorse it here. I'm a proud affiliate of Scrapbook.com, and Simon says stamp.


Comments

Popular posts from this blog

Get Kids Crafty August Blog Hop- Back to school

Hello! Thank you for joining us for the August Get Kids Crafty! blog hop! Our theme this month is back to school! Summer has been awesome and we hope you’ve had lots of time to create some amazing projects with your kids! How about a little giveaway to celebrate the unofficial end of summer?! Lawn Fawn has generously donated a prize package for us to give to one of our lovely followers! How do you win it? Just leave a comment on all the blogs in the hop! The more blogs you comment on the better chance you have of winning! One lucky person will be chosen from all of the blog comments to win the Lawn Fawn prize which includes the Little Fireflies stamp set, Year Eight stamp set, Slow Down and Enjoy stamp set, and the Perfectly Plaid Chill 6x6 paper pack! This giveaway closes in one week on Saturday August 25 and a winner will be chosen soon after! We also want to know how the theme of “back to school” inspires you? Creating awesome book covers? Making notes to

Intoducing the Power Pack

 Hello there, I've got something so fun for you today. I am apart of a mega blog hop for the introduction of the Power Pack by Pear Blossom Press.  It's an easier way to make a light up card. Here is a link to Amanda explaining the process in more details too.   https://pearblossompress.com/ power-pack/ The Power Packs are available three ways: Power Pack Kit (set of 3 power packs, batteries, copper tape, and 3 LED stickers) retail $15.99 USD Power Pack (3 units) (3 power packs with batteries only - perfect for people who already have Chibitronics kits, but don't want to make paper switches and battery holders) retail $9.99 USD Power Pack (single unit) (1 power pack with a battery) retail 4.99 USD Customers in the US can enter the code FREEUSA to receive free shipping on orders over $9 until May 11, 2019 International customers can enter the code INTL5 for $5 off International shipping until May 11, 2019. Customers in Canada will be able to order kits fr

Get Kids Crafty May Blog Hop Gardening theme

It's that time of month again where I share a fun crafty project that I made with my kiddo Riley for Get Kids Crafty. Hello and thank you for joining us for the May Get Kids Crafty! blog hop! We are thrilled to have you! Our theme this month is gardening and our kids have created some AMAZING projects to share with you! We had a lot of fun creating our project this month. We made a bumble bee mobile.  Both my kids love the song bringing home my baby bumble bee. Especially my youngest Liam, it seems to usually calm him down when he's upset.  So we created this fun project to the theme of the song.      First we had to die cut our bees, Here is Riley playing with an already cut bee in the Big Shot machine.      Here is Riley turning the handle on the Big Shot machine to cut out all our bees. We had to do 16 in total one for the front and back as you will see in a little bit. Here is what the finished bee looks like and the die cut that we used from