Hello There, today I've got 3 cards for you they are a part of two series over on my YouTube channel. They are part of my 2019 Fall card series and also a part of my Recycle with me series. The reason they are part of the Recycle with Me series is I used all scrap paper to create the leaves on the cards.
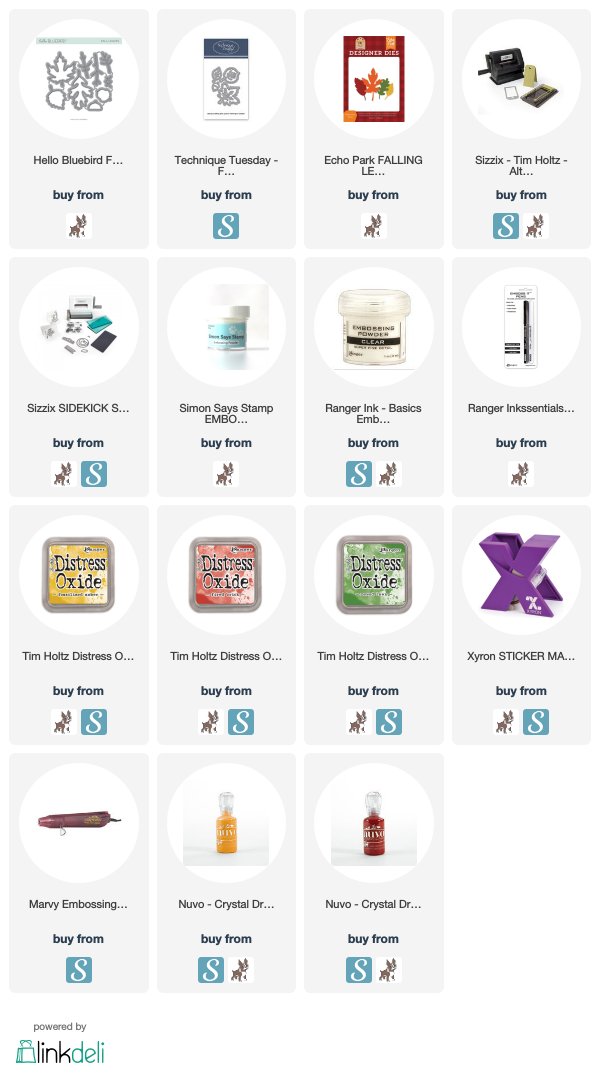
The cards were very simple. I made three cards with the same look switching it up a bit here and there to create different yet similar looks. I used Simon Says Stamp Fall Leaves Die (that I believe is no longer available, but there are similar sets from other companies). I will link to a few more options for Fall Leaf dies down below. I used the Sixxiz SideKick machine to cut out a bunch of leaves from the scraps of paper.
For the first card I made a wreath with the leaves and adhered them with the Xyron Sticker Maker. Then I used a Ranger black emboss it pen to add my own sentiment inside the wreath. I wrote "Be Thankful" and then grabbed out the Ranger clear embossing powder and used it over the written words and used the Marvey heat tool to melt that embossing powder. I also used the Ranger clear emboss it pen to add some details to the leafs to make them stand out a bit more. Then to finish off the card I used Autumn Red and English Mustard nuvo drops to add some final detail to the card.
For the second card I decided to use the paper that had the cut outs from the leaf die as a stencil. So I grabbed out my distress oxide inks and my Dollarama make up brush for this. I used three distress oxide colors Fossilized Amber, Fired Brick and Mowed Lawn. Then I used the clear emboss it pen from Ranger to add some detail to the leaves and Ranger clear embossing powder. I heat set that once again with the Marvey heat tool. I also used the clear emboss it pen on a scrap of black paper for the sentiment and wrote "Thank you". I then used Simon Says Stamp white embossing powder for that an used my heat tool to melt that embossing powder. To adhere the sentiment I pulled out the Xyron Sticker maker again. As a final touch I pulled out the Autumn Red and English Mustard nuvo drops to finish off the card.
For the third card I used the remaining die cuts and adhered them to the card base using the Xyron Sticker Maker. I took the Ranger black emboss it pen and wrote "Hello Fall" on one of the leaves and used the Ranger clear emboss it pen to add detail to the leaves. I used the Ranger clear embossing powder over the areas I used the emboss it pen and heat set that with my heat tool. Lastly I used the Autumn Red and English Mustard nuvo drops to add some final touches to the card.

Affiliate Link Disclosure: I participate in various affiliate programs. That means I receive a small commission, at no additional cost to you, when you purchase products through links I provide here on YouTube and my blog. By participating in affiliate programs I am able to generate income by sharing links to the products I love. I only share product info for things I love and use in my projects. If I don't love it I won't endorse it here. I'm a proud affiliate of Scrapbook.com and Simon says stamp.
Comments