Hello there, today I've got 3 card to share with you today. They are part of my Recycle with me series over on my YouTube channel. For Today's cards I recycled product tags from some Dollar Tree items I bought over the summer.
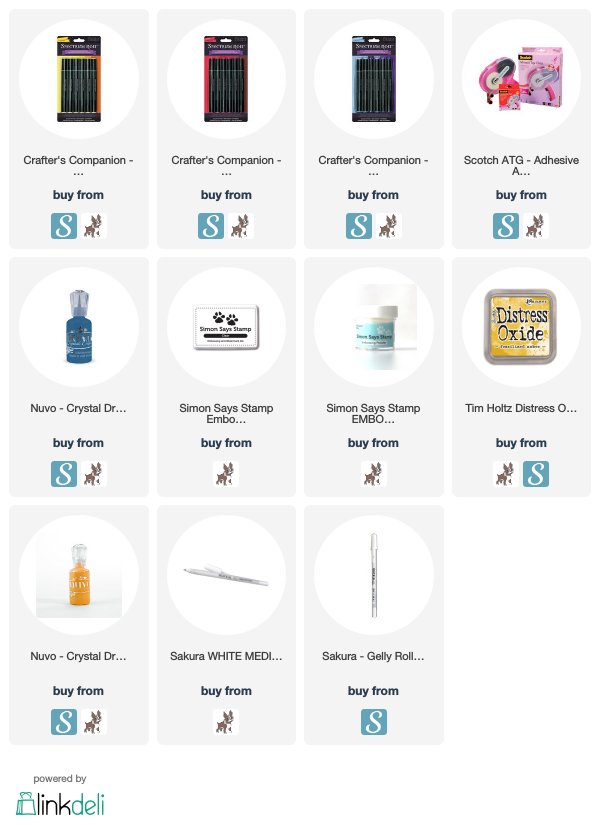
For the first card I used a super cute Toucan tag from a decor sign I bought from Dollar tree to decorate for summer. To make the card I used a white card stock for the base. I added some blue twine to the tag in a loop. I used some thin blue washi tape from Dollar tree and added into a boarder around my sentiment. For the sentiment I used a wood mounted stamp from Micheal's that says "Toucan have my heart". I stamped it in My Favorite Things after midnight hybrid ink. At this point I also cut out some hearts from some left over Valentine's day cards to add to my card. A bonus recycled material. After stamping the sentiment and the toucan from the stamp I used my spectrum noir markers to add a bit of color to the bird. I used CT4, DR3 and TB3. I also used a black pen to make the words stand out a bit more. To adhere everything together I used the Scotch Advanced tape glider. Lastly I added some midnight blue nuvo drops to finish off the card.

For the 2nd card I used these recycled product tag from a Dollar Tree decor sign that has the sun on it. I first added some yellow twine to the tag and added a loop in the hole on the tag. For the sentiment and to cover up the words on the tag I grabbed some black card stock. I used a sentiment from a Micheal's wooden stamp that says "You're Spec-tacular" and it also has the sunglasses on that stamp. To stamp it I used Simon Say Stamp clear embossing ink and then Simon Says Stamp white embossing powder. Then I cut out the sentiment and sunglasses. For the card base I used Fossilized Amber distress oxide ink with the Dollarama make up brush and blended the color over the card stock to create my background. Then I was ready to adhere everything together to do that I used the scotch advanced tape glider. To finish off the card I added a some English Mustard nuvo drops around the tag. Lastly I used the Xyron sticker maker to carefully pop the sunglasses into the inside of the card.


For the 3rd card I used 4 product tags from some Dinosaur toys I picked up for my 2 year old who loves Dinosaurs. This was a super simple card. To adhere the tags to the card base I used the Scotch Advanced Tape Glider. I grabbed some scraps from black card stock and cut some stripes down to adhere over the french words of the tag and add my own sentiment in. I adhered the black stripes with the Advanced tape glider and then used a white Sakura gelly roll pen and wrote "Happy Birthday" on the black paper.

Thank you so much for stopping by today. I hope your summer is going great!

Affiliate Link Disclosure: I participate in various affiliate programs. That means I receive a small commission, at no additional cost to you, when you purchase products through links I provide here on YouTube and my blog. By participating in affiliate programs I am able to generate income by sharing links to the products I love. I only share product info for things I love and use in my projects. If I don't love it I won't endorse it here. I'm a proud affiliate of Scrapbook.com and Simon says stamp.
Comments